Luggage‑Hardware Production Lead‑Time Breakdown | 13‑23‑Day Manufacturing Workflow | OYC Hardware
Luggage‑hardware fittings combine decorative styling and structural‑functional performance. Total manufacturing lead‑time for custom‑mould metal components typically ranges from 13‑23 working‑days, covering scheduling, die‑casting, post‑processing, polishing, electroplating, quality‑inspection and packaging.
This article breaks down each production phase with corresponding time‑spans, explains key process logic and lists main variables that extend or shorten lead‑time, delivering practical reference for B2B procurement and project‑planning teams.
Phase 1: Order Scheduling & Die‑Casting (3‑5 Working Days)
Keywords: Die-casting production scheduling, molds, melting, forming
The prelude to production begins with the 3-5 days of “die-casting production scheduling.” This is not mere waiting, but a meticulous planning process centered on order and efficiency.
Production‑Order Scheduling & Resource Allocation
Factories do not run for one order only. Just as hospital emergency departments practice triage, production scheduling centers also need to decide systematically which orders are more urgent on the basis of criteria and priorities such as mold flexibility, raw material stocks, equipment availability. Urgency, existing‑mold availability, raw‑material stock and equipment occupancy jointly determine order sequencing. Unplanned emergency order insertions will disrupt overall production rhythm and may push out lead‑time for other batches
Die‑Casting: Forming Raw Hardware Blanks
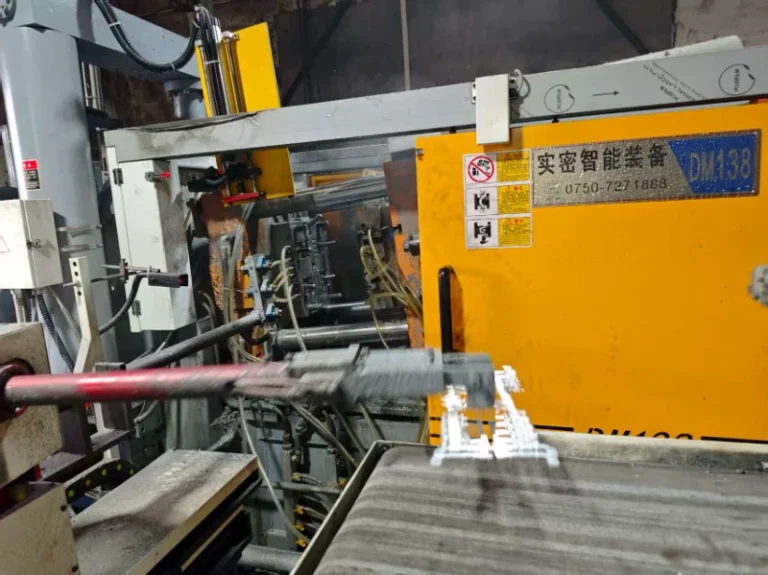
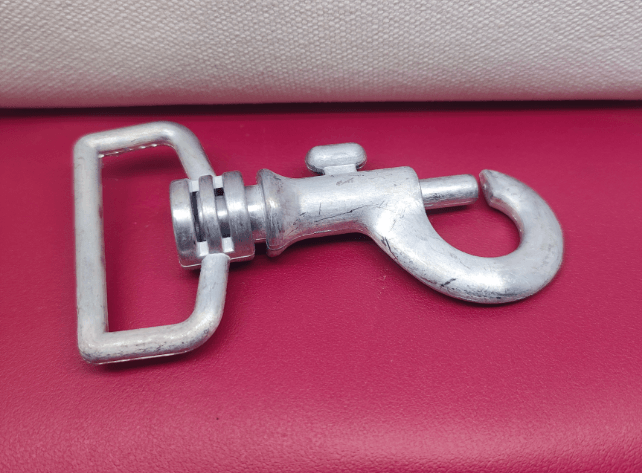
Once the production schedule is finalized, the true physical transformation begins. Metal raw materials like zinc alloy and copper melt into molten liquid within high-temperature furnaces, then are rapidly injected into precision mold cavities. Within mere seconds, the molten metal rapidly cools and solidifies under immense pressure, forming a primary product known as a “blank.” This process gives hardware components their initial shape and structure, yet leaves behind rough traces—flash, gate marks, and other imperfections.
These 3-5 days represent the creative phase of “from nothing to something,” establishing order and revealing initial form. This stage lays a solid physical foundation for all subsequent meticulous refinement.
Phase 2: Post‑Casting Finishing Operations (1‑2 Working Days)
Keywords: Roughing, Tapping, Pressing, Burr Removal
Just molded, the unsmoothed blank is a wild piece, unusable until rough. During the next day or two, artisanship and mechanical precision meld for the first time as they work together to smooth its unruly edges.
Deburring & Flash‑Removal Treatment
This is the most primitive and patience-trying step. Skilled operators work with precision tools, carefully cutting or grinding any excess (flash) that has formed where the mold halves meet during the die casting process. Removing mould‑flash and sharp‑edges eliminates burr‑risks for finished‑product end‑users.
Tapping / Internal‑Thread Machining
To create precise threads in a hole, a dedicated tap cuts the threads. Therefore, the tap becomes the best tool for components that need to be screwed and tightened together, such as buckle bases and lock mechanisms.They’re the tiny coil grooves that keep everything from failing after a zillion rounds of torquing and untorquing. Everything must be precise, as with just a slight imbalance screws will strip and all work undone.
Pre‑Assembly & Riveting Preparation For Modular Components
For modular components like D-rings or buckles, this step may involve preliminary assembly or compression to ensure structural integrity.
These 1-2 days mark the refinement period where roughness transforms into precision. It shapes the clumsy blank into a functional prototype, preparing it for the magnificent metamorphosis to come.
Phase 3: Polishing & Surface Buffing (2‑3 Working Days)
Keywords: Polishing, Buffing, Mirror Finish, Texture
If the first two stages shaped the “bone” and ‘flesh’ of the accessory, then polishing is the crucial step that gives it its “skin.” These 2-3 days are a magical moment where light, shadow, and friction dance together.
Progression from Coarse to Fine:The process of polishing also basically involves three stages(rough, middle and fine) using varying wheels and compounds. The continuous and high speed rotation of buffing cloth wheel is in contact to the parts with surface film while removing scratches and oxidized layers from the metal. This slow process reveals beautiful texture, enhancing the inate beauty of the metal.
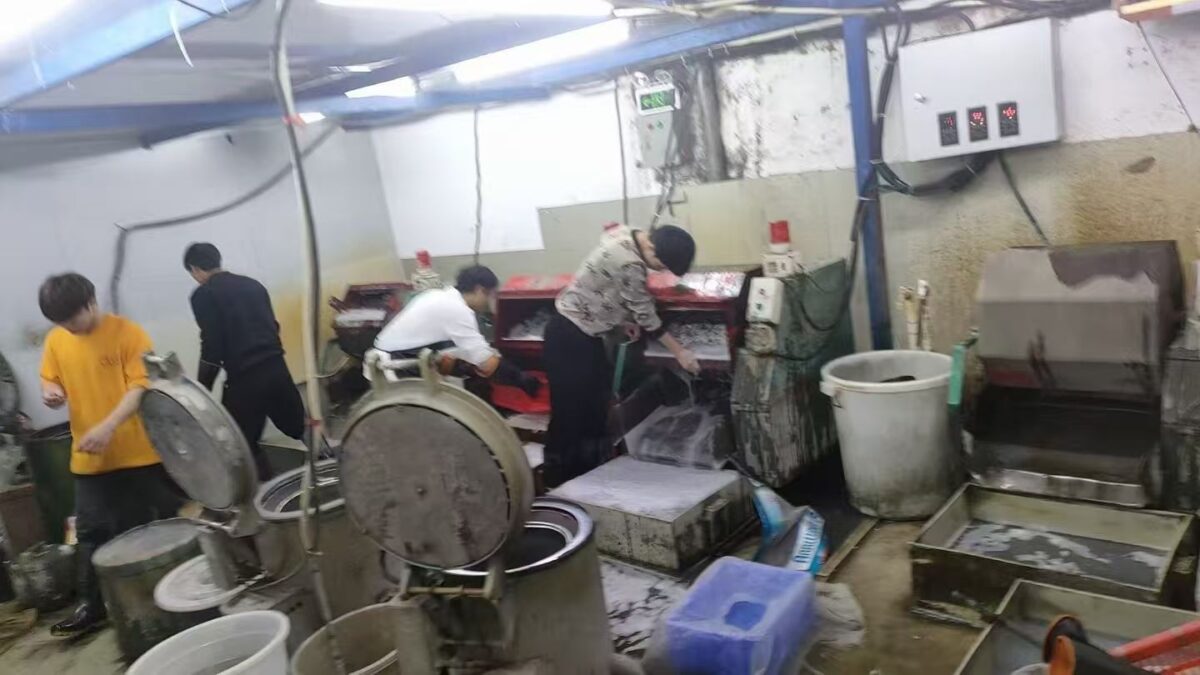
The Warmth of Human Touch: In an increasingly automated age, the fine edges and creative angles of deluxe hardware are still highly dependent on the skills of experienced polishing apprentices。Using their delicate fingers and sharp eyes, the craftsmen make sure all the edges and curves get even treatment.Their craftsmanship leads to finishes that vary from a mirror-like sheen to a silken, smooth, silk matte appearance – these glosses insist on the irreplacable human skill in the polishing phase.
These 2-3 days mark the aesthetic period of “rebirth.” They erase the cold traces of industrial production, infuse the soul of craftsmanship, and awaken the metal to radiate a captivating luster.
Phase 4: Pre‑Treatment & Electroplating Surface‑Finishing (5‑10 Working Days)
Keywords: Electroplating, Corrosion Resistance, Decorative Properties, Plating Layer
Though polished components gleam, they remain unprotected—vulnerable and prone to oxidation. Electroplating, the most technologically advanced and variable stage of the process, will cloak them in a robust and lustrous “outer layer.” The 5-10 day duration underscores its complexity.
Critical Pre‑Treatment: Degreasing & Surface Activation
Eighty percent of the efficiency of electroplating depends on a good pre-treatment. Because they have to be ultra clean, completely free of contamination, components need thorough degreasing, acid etching and activation in order to achieve a perfect surface. If this important step is omitted, it can lead to plating flaws such as bubbling and flaking of the coating.
Electroplating Deposition Process & Finish Options
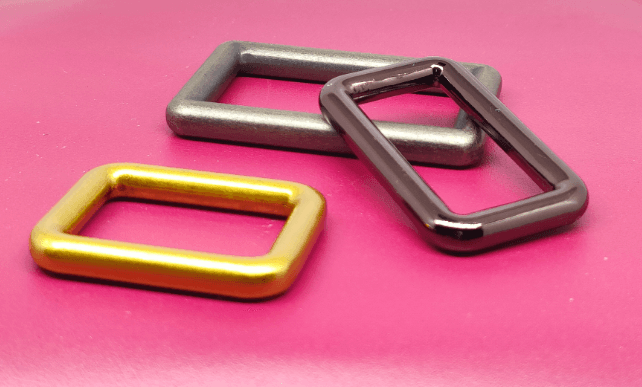
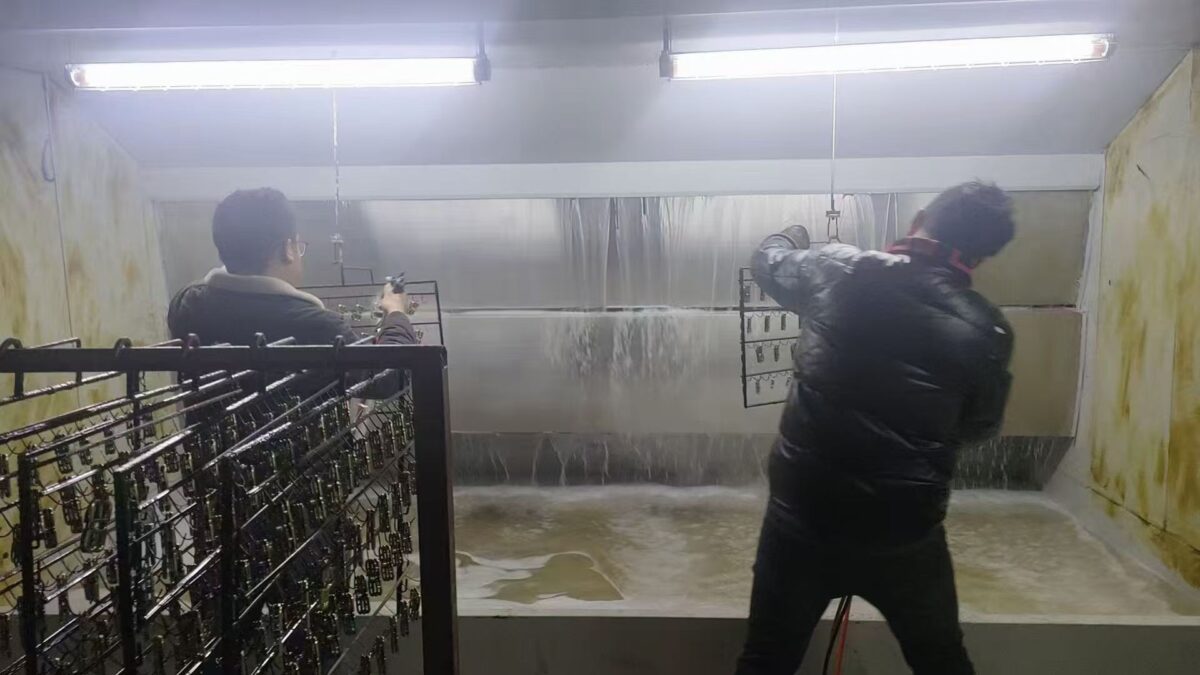
In the electroplating process, manufacturers use the accessory as a cathode and dip it into an electrolyte solution containing metal ions such as copper, chromium, nickel, or pure gold. An applied direct current then reduces these metal ions to atoms, which plate out on the surface of the accessory. As a result, there is provided a metal coating of compact and tight bond density. In addition to meeting all of the aesthetic requirements between bronze, gun metal, silver grey, yellow and rose gold coloring that you likely want in your parts the process offers other benefits for both corrosion resistance as well component wear and hardness due to smoothing out surface imperfections.
Lead‑Time Variables Within Electroplating Stage
Plating duration depends on the type of plating, required coating thickness, and the factory’s order queue. Special colors or thick gold plating involve more complex processes and take longer. Additionally, electroplating facilities typically process orders from multiple hardware manufacturers simultaneously, making queuing a common occurrence. Thus, the 5-10 day timeline encompasses transportation, queueing, and actual processing time.
These 5-10 days represent the transformative period of “turning stone into gold.” It endows hardware components with armor against the ravages of time while also granting them a fashionable exterior that harmonizes with the soul of luggage design.
Phase 5: Final Quality‑Inspection & Export‑Packaging (2‑3 Working Days)
Key words: Quality inspection, packaging, warehousing
After nearly twenty days of refinement, the hardware accessories have reached perfection. But before delivery, it must also pass the final and most stringent checkpoint – quality inspection and packaging.
Finished‑Goods Quality‑Control Inspection
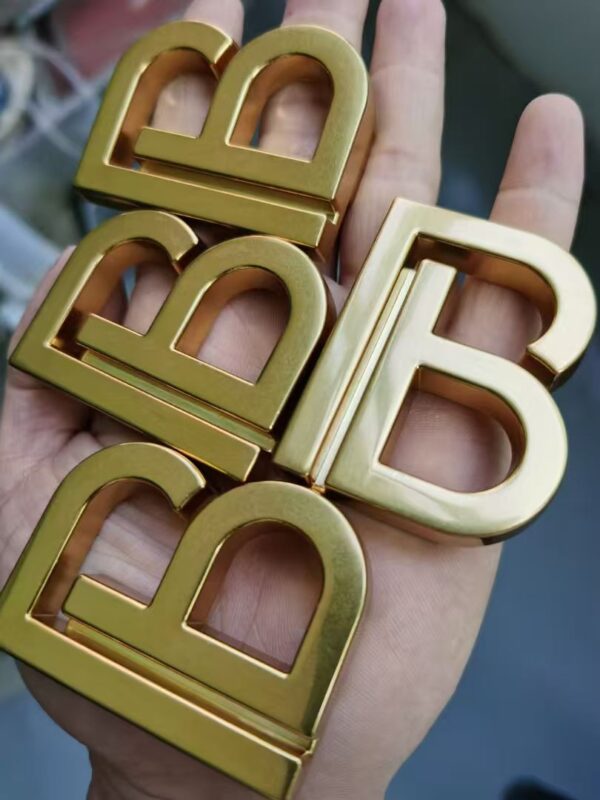
Quality‑control auditors execute random sampling or full‑100 % visual & functional inspection for each batch to guarantee consistent output quality. Inspections are performed under adequate lighting aided by magnifying tools, covering colour‑uniformity, surface defects, dimension tolerances and spring‑mechanism function. Non‑conforming units will be screened out.
Anti‑Scratch Export‑Grade Packaging Procedures
We carefully package qualified components. To prevent scratching their hard-earned surfaces during transport and storage, we typically wrap each component individually in PE bags or bubble wrap. Then, we neatly arrange them in dedicated blister trays or compartmentalized paper boxes to prevent mutual impact.Labeling, boxing, system entry—finally, they enter the finished goods warehouse awaiting shipment to bag assembly plants.
These 2-3 days mark the “nitpicky” protection period. It represents the final acceptance of all preceding processes—a quality commitment from the factory to the brand owner and, ultimately, to the end consumer
Key Factors That May Change Total Hardware Production Lead‑Time
- Custom‑new‑mould projects: additional mould‑making & pre‑sample iteration days outside this 13‑23‑day window
- Special electroplating / antique / thick‑gold plating: extends electroplating‑phase duration
- Large‑batch order volume: may trigger production‑line queuing
- Raw‑material supply delays: impacts scheduling & die‑casting start date
- Multiple rounds of sample‑revision: adds extra lead‑time before mass‑production
- Stock ready‑made hardware: no mould‑and‑casting phase, far shorter turnaround
FAQ for Luggage‑Hardware Production Lead‑Time
Q1: Does the 13‑23‑day lead‑time include new‑mould development time?
A: No. The 13‑23 working‑day timeline describes mass‑production after sample‑approval with existing moulds. Brand‑new custom‑mould creation adds extra independent lead‑time for tool‑making and pre‑production‑samples.
Q2: What factors will make hardware production take longer than 23 working days?
A: New mould development, multiple rounds of sample‑revision, special thick‑plating / antique‑finish, large‑batch queuing, raw‑material stock shortage.
Q3: Can stock‑item hardware ship faster than 13‑23‑day custom cycle?
A: Yes. Ready‑stock hardware skips die‑casting & mould‑related phases; lead‑time depends only on finishing, re‑inspection and packaging.
Q4: How can buyers help keep hardware‑project lead‑time on‑schedule?
A: Finalise logo, dimension, finish‑colour specifications at early stage; reduce post‑confirmation specification‑changes; respond promptly to sample‑feedback.
Q5: Where in workflow most‑often causes lead‑time delays for custom hardware?
A: Electroplating‑workshop order‑queue and repeated sample‑revision from buyer side are two most‑common sources of schedule‑shift.
Conclusion
The standard 13‑23‑working‑day lead‑time for custom luggage‑hardware covers five core manufacturing phases: order‑scheduling & die‑casting, post‑casting finishing, polishing, electroplating, QC‑inspection and packaging.
Procurement teams should note this timeline applies for orders using confirmed existing‑molds. Brand‑new mould‑development, repeated sample‑modifications, special plating‑requirements or raw‑material fluctuations will shift overall lead‑time. Early confirmation of drawings, specs and colour‑standards helps avoid schedule‑extension risks for bulk‑orders.
OYC Hardware provides custom‑mould and stock luggage‑hardware; we share phase‑by‑phase production‑progress updates and can clarify exact lead‑time estimates according to your project parameters.
Discuss Your Luggage‑Hardware Project & Confirm Lead‑Time
- Chat on WhatsApp +86-13924451472
- Submit Your Hardware Requirement