Bag Hardware Production: A Complete & Detailed Process Breakdown
Today I’ll thoroughly explain the hardware manufacturing process. First, to share some knowledge, and second, to show you that producing a tiny bag hardware component is no easy feat!Bag Hardware Production Process bellow:
Step One in the Hardware Manufacturing Process:
Drawing is just like developing a bag—first, you need to design the product drawing, confirming specifications, dimensions, and internal structure. Product Drawing
Then, based on the product drawing, create a 3D model. The purpose of the 3D model is to simulate movement in 3D software and test the product’s functionality. If everything checks out, we can proceed to mold making!
Our Specialty: Hardware designs from large factories are more rational, prioritizing functionality and durability.
Step 2: Mold Making
Based on the designed mold layout and structure, we program and operate CNC machines to fabricate the molds. Our partner factories use copper electrode EDM to etch the molds, achieving greater precision than standard direct-carving molds.
Copper Electrode Mold Making
After mold formation, assembly begins.
Assembly After Forming
Our specialty: Molds and components are made of copper, sparing no expense to ensure quality.
Copper Components – The Unseen Cost
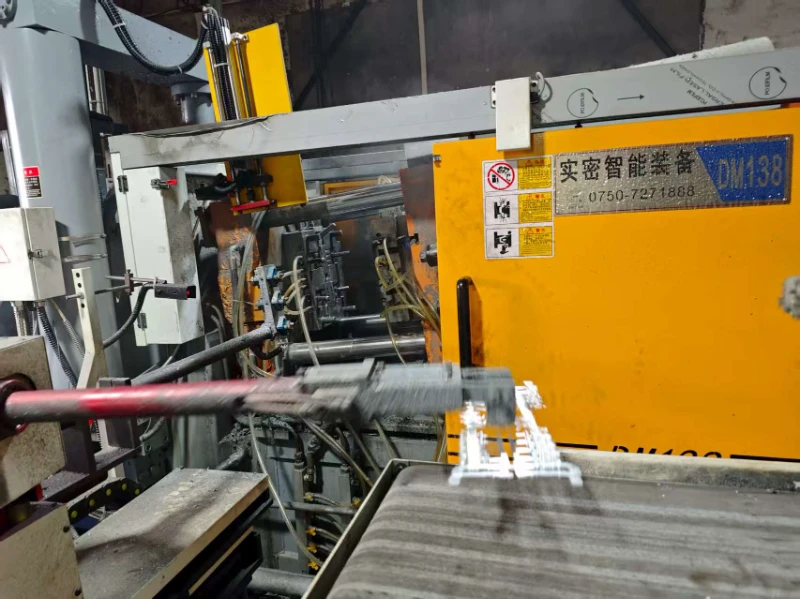
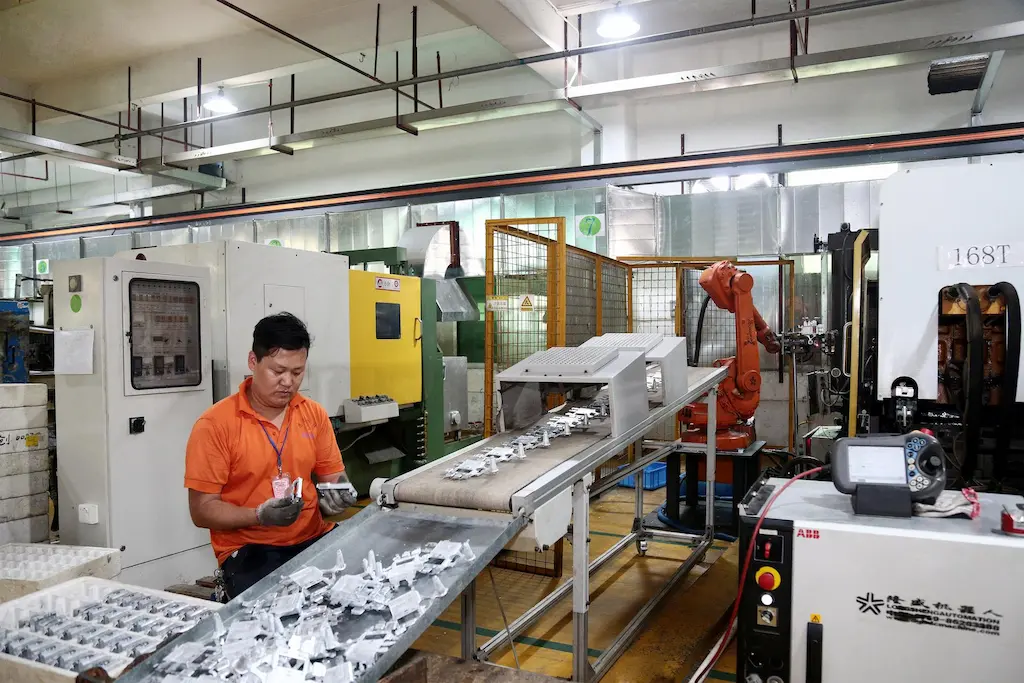
Step 3: Blank Production
After mold testing, blanks are assembled and loaded onto the stamping press.
Stamping Press
The stamped blanks are rough castings with flash (burrs, flash edges) that require removal using flash cutters and grinding wheels.
Grinding
After removing flash, the product surface undergoes further polishing with a burlap wheel, followed by a cloth wheel for a final finish, ensuring a smoother metal surface.
Polishing
Post-polishing, products undergo quality inspection to verify thorough grinding, absence of pitting, etc.
Quality Inspection
Our Distinctive Feature: Manual, repeated grinding and polishing with stringent inspection demands significant labor investment.
Step 4: Vibratory Finishing
Some blanks require vibratory finishing. Pre-cleaning is essential, as surface contaminants will leave marks after vibratory processing.
Cleaning for Vibratory Finishing
Large mirror surfaces must undergo individual vibratory finishing to prevent collisions, such as with lock buckles.
After cleaning for vibratory finishing, the blanks become finished products. Following quality inspection, they proceed to electroplating.
Cleaned Finished Blanks
Our Distinctive Feature: The vibrating process is highly challenging and prone to damaging hardware. Consequently, many manufacturers skip this step to reduce costs.
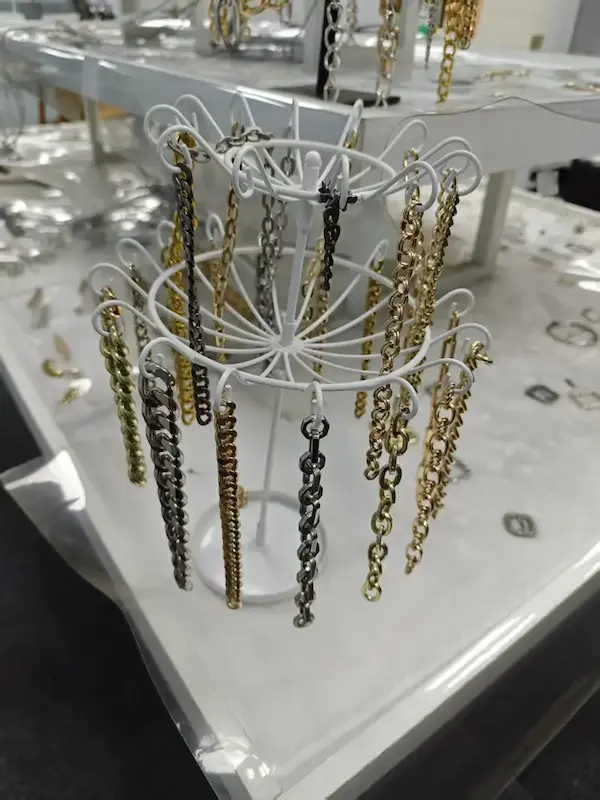
Step 5: Electroplating
Electroplating is the most critical and costly stage in hardware production. The primary steps include:
General Electroplating Process
Each electroplating stage requires thorough cleaning. The number of plating layers and duration directly impact hardware longevity. After genuine gold plating, we apply a glaze sealant to enhance oxidation resistance and extend service life.
Our Distinctive Feature: Multiple Plating Layers. This is unattainable by most market competitors due to two main reasons:
- Excessive cost, particularly for genuine gold plating, where we demand thickness approaching that of genuine gold.
- Insufficient technical capability. For instance, some skip the tumbling process by applying color directly after base plating.
Different colors require distinct plating techniques.
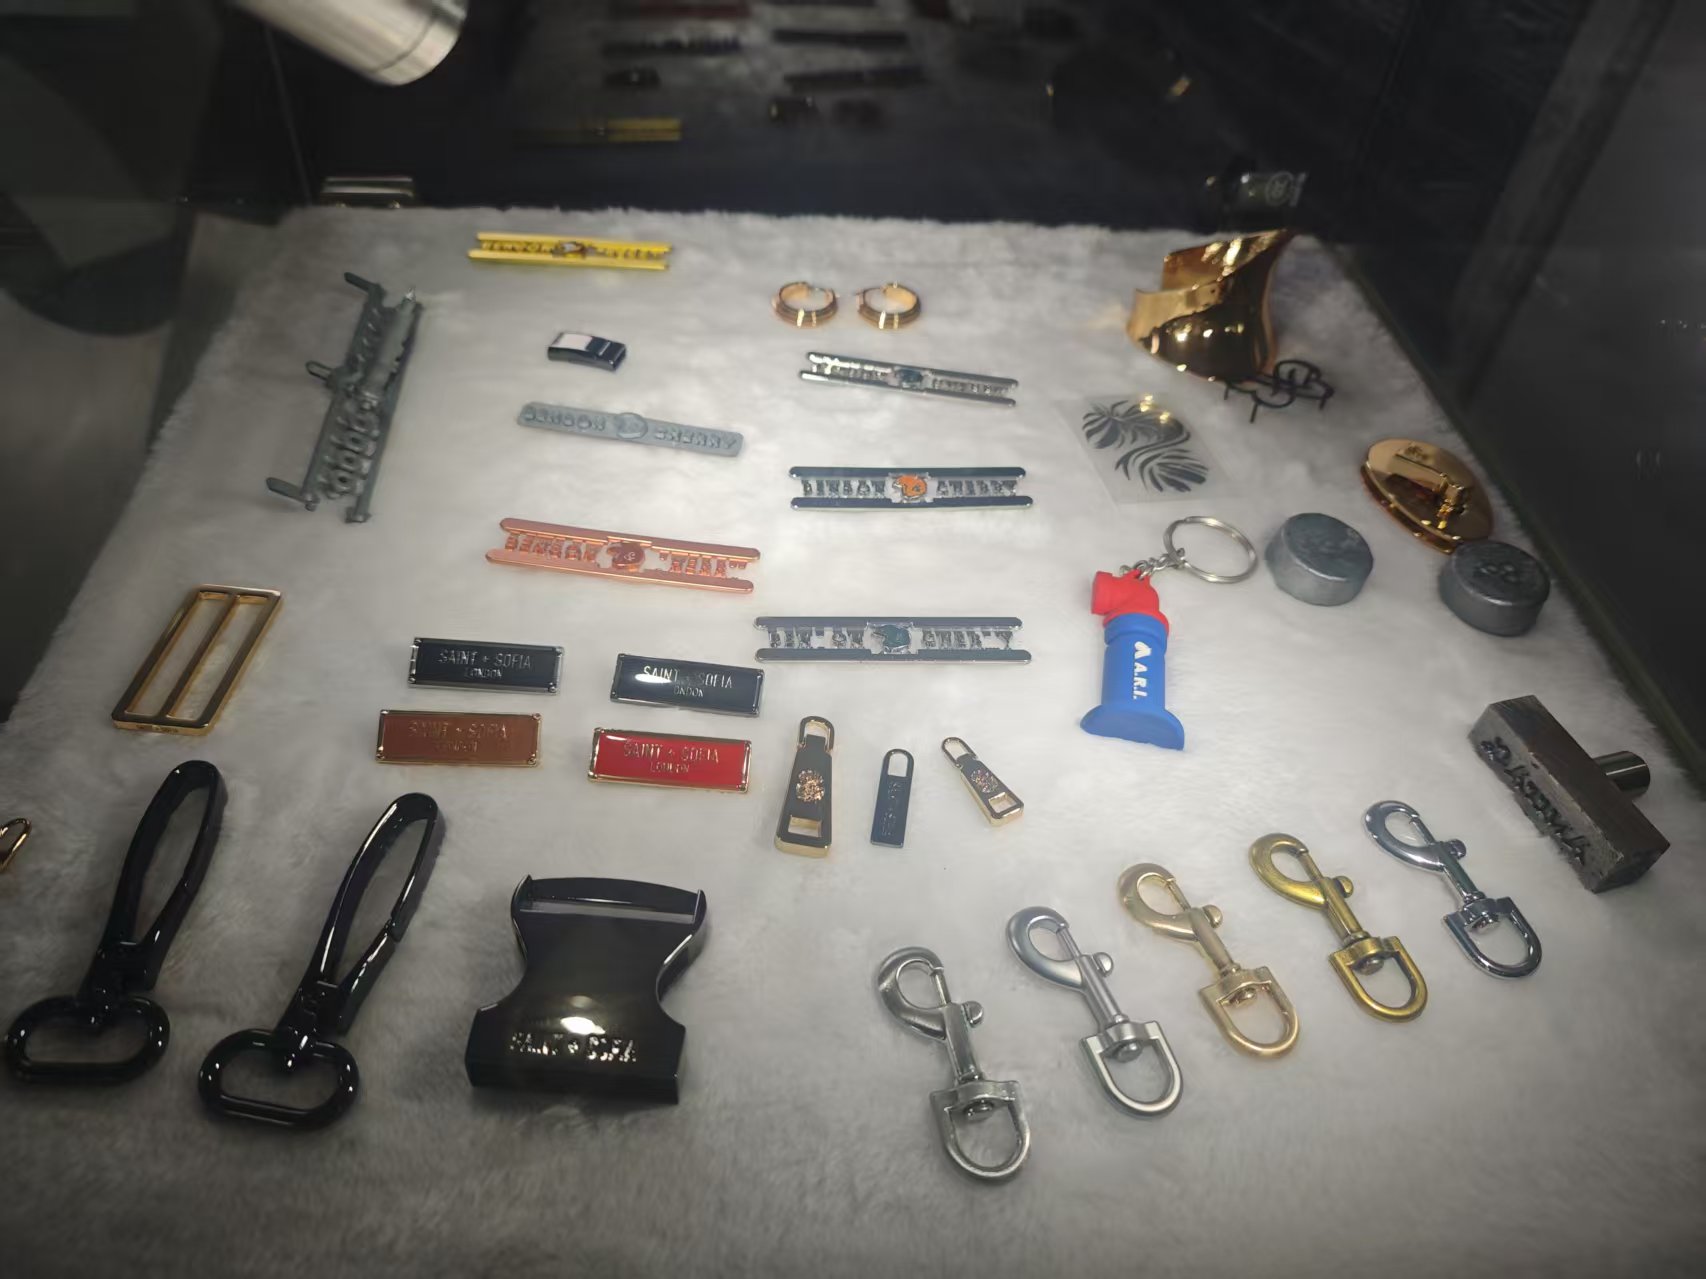
To summarize, producing bag hardware involves the following steps: drawing design → mold making → blank production → polishing → plating → shipping. However, each intermediate step is highly challenging, requiring continuous development, experimentation, and inspection.
Finally, it’s worth reiterating that OYC is a professional source manufacturer specializing in bag hardware. We export to multiple countries, offering affordable prices, short production cycles, and flexible customization and development capabilities.