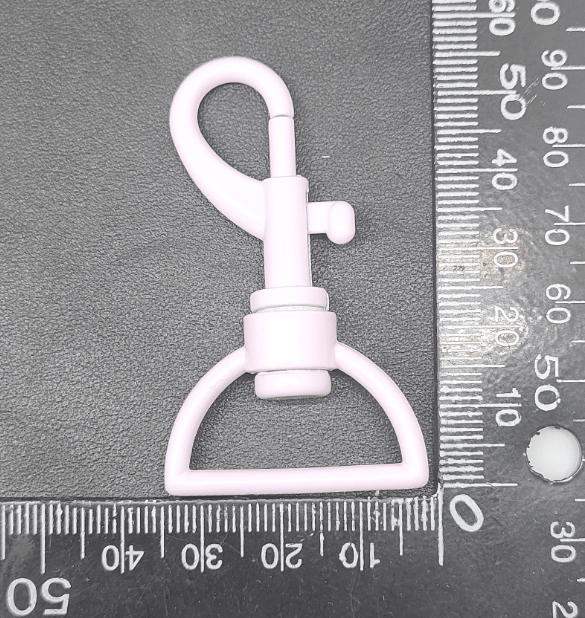
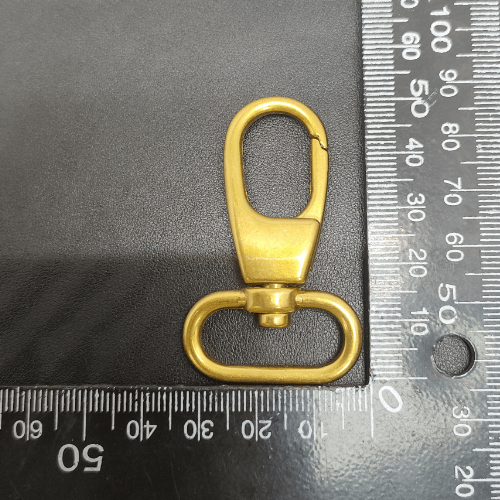
Bag Hardware Production: A Complete & Detailed Process Breakdown
In the world of handbags, although hardware components are small, they fulfil a triple role encompassing structure, function and aesthetics. An exquisite D-ring, a mirror-polished logo plate, a smooth spring hook—these do not appear out of thin air, but undergo a lengthy craftsmanship journey from design drawings to final delivery.
From design to delivery, the complete production cycle for a single handbag fitting typically takes 15 to 30 days, with mould-making alone requiring 7 to 15 days. Top-tier fittings, such as Hermès’ spring hooks, undergo as many as 130 processing steps before completion.
This article will systematically analyse the complete production process of handbag hardware, following a six-step sequence: ‘design drawings → mould making → blank production → polishing → electroplating → dispatch’, revealing the craftsmanship behind every metal fitting.
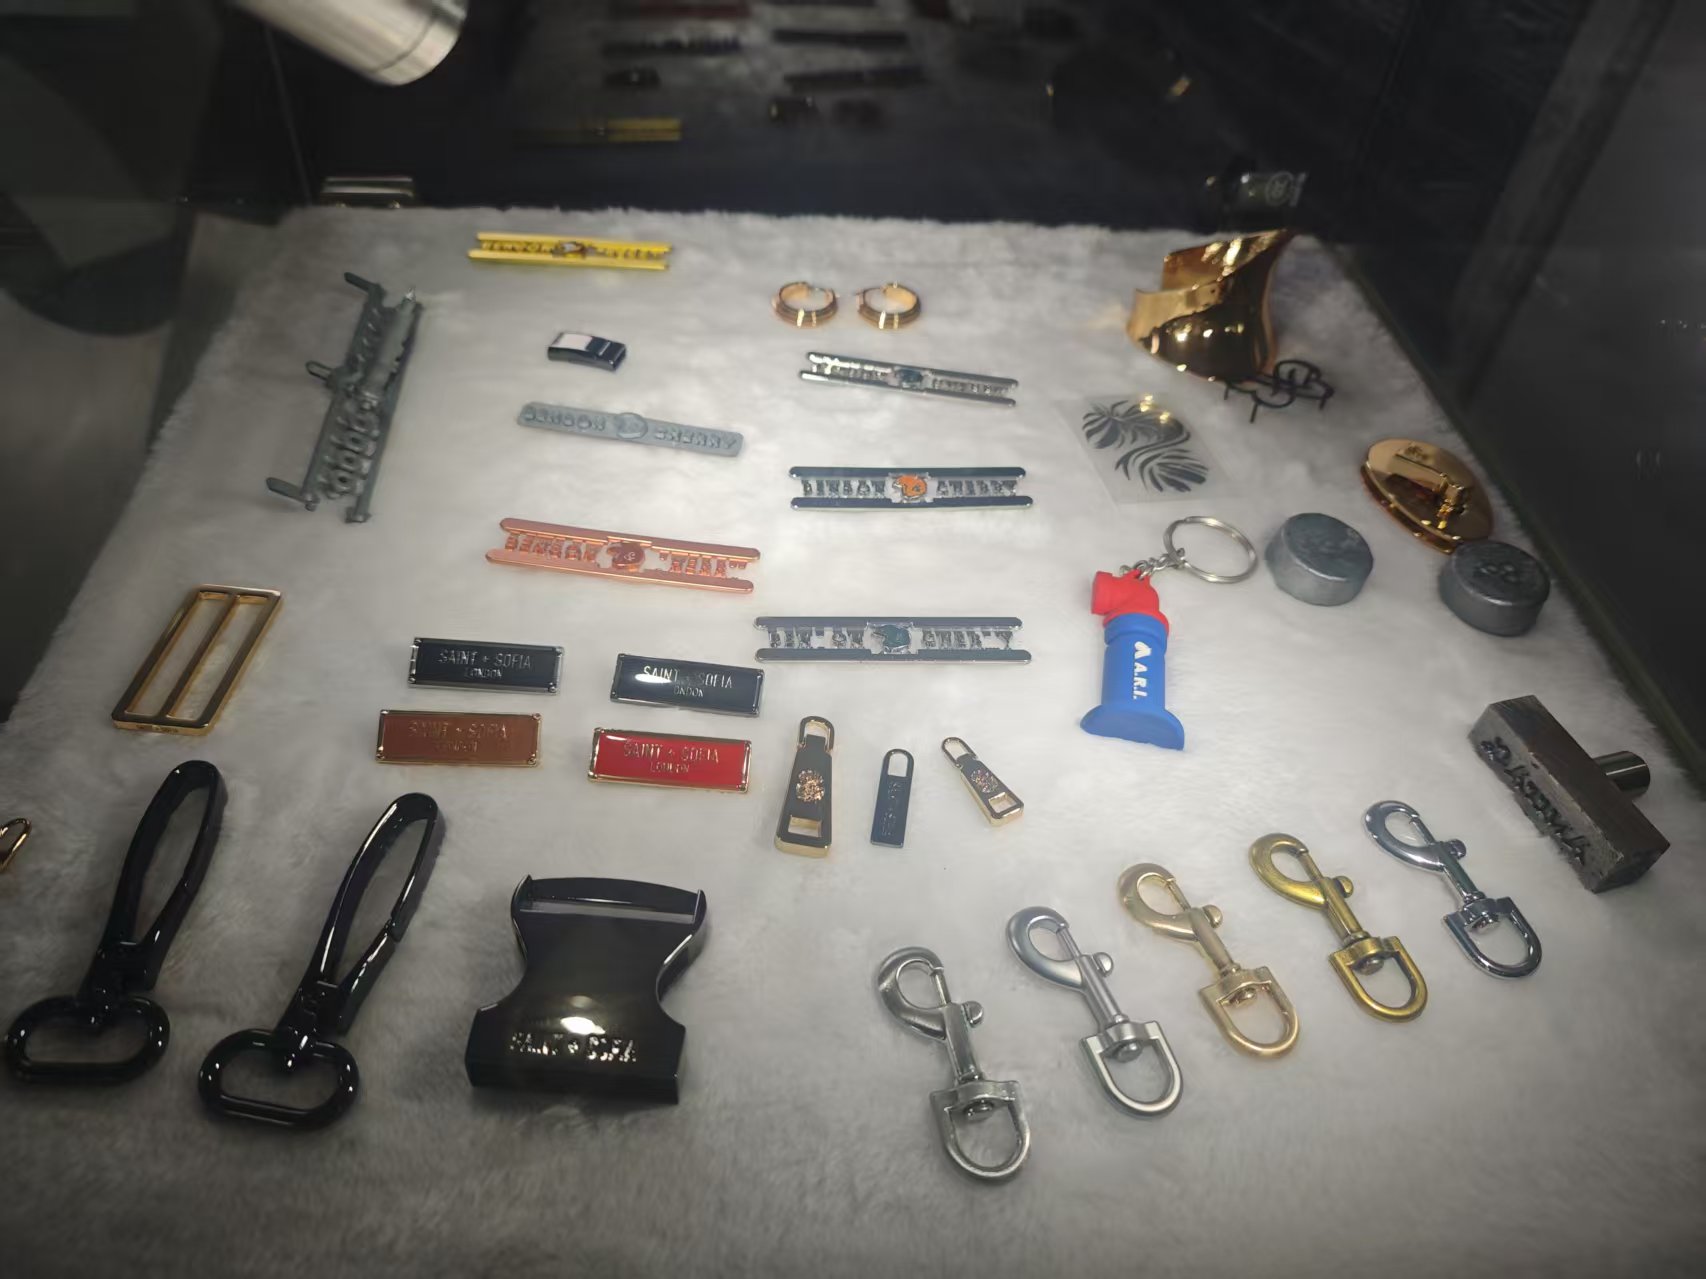
Design Sketches
The Starting Point of Design: Balancing Function and Aesthetics
The design of hardware begins with answering two core questions: what does it need to do? And what should it look like?
functional level
Designers must clarify the role of the hardware within the handbag—is it a D-ring designed to bear weight, a twist lock that is frequently opened and closed, or a chain intended purely for decoration? This determines key parameters such as the hardware’s dimensions, thickness and structural strength.
Aesthetically
The hardware’s form, lines and surface texture must harmonise with the handbag’s overall style. A rugged, distressed bronze clasp suits a vintage style, whilst a mirror-polished, pale gold logo plate is better suited to modern minimalist design.
Technical Implementation of Design Drawings
| Design phase | Main content | Deliverables |
| Concept sketches | Hand-drawn or digital sketches to determine the design direction | 2D sketch |
| 3D modelling | Creating precise 3D models using CAD software | 3D digital files |
| Engineering drawings | Specify dimensions, tolerances, materials and surface finish requirements | Production drawings |
| Render Confirmation | Simulation of the final appearance of hardware fittings | Renderings |
Designers use computer-aided design (CAD) software to create 3D models, generating digital files that can be used for subsequent mould manufacturing. At this stage, every dimension and tolerance must be clearly specified—as the precision requirements for metal fittings are extremely high, even deviations at the micrometre level can affect assembly results and service life.
Step 2: Mold Making
Mould Making: The Cornerstone of Product Quality
If design drawings are the ‘genes’ of metal fittings, then moulds are their ‘womb’. The precision of mould making directly determines the upper limit of quality for all subsequent mass-produced items.
The complete process of mould making is as follows:
Step 1: CNC Machining
The 3D design files are imported into a CNC machining centre, where precision cutting tools are controlled by programming to ‘carve’ the mould cavity out of a metal blank. CNC machining is a form of subtractive manufacturing—removing excess material from a solid block of metal to leave the required mould shape. The advantage of this method lies in its extremely high precision, although it is time-consuming; on average, it takes approximately 8 hours to machine a single mould.
Step 2: EDM (Electrical Discharge Machining) (as required)
For moulds with complex shapes and fine details, Electrical Discharge Machining (EDM) is also required for fine finishing. EDM achieves a level of precision that is difficult for CNC cutting tools to attain by ablating metal through electrical discharge.
Step 3: Trial Moulding and Mould Modification
Once the mould has been machined, a trial moulding is required—a batch of samples is produced on a die-casting machine to check dimensional accuracy, surface quality and demoulding performance. If any issues are identified, the mould is modified until it meets the required standards before mass production can commence.
Blank Production: From Molten Metal to Formed Parts
Choice of Material: The Dominance of Zinc Alloys
The choice of base material for hardware blanks is the starting point for quality. Currently, approximately 80–90 per cent of the handbag hardware market uses zinc alloy (Zamak) as the base material.
Zinc alloys have become the mainstream choice due to four key advantages:
- Good fluidity: When melted, they can fully fill every corner of the mould, making them suitable for producing complex three-dimensional shapes
- Excellent mechanical properties at room temperature: Their strength is sufficient to meet the requirements for handbag hardware
- Good wear resistance: Friction during everyday use is unlikely to cause deformation
- Recyclability: Scrap material can be remelted for reuse, in line with environmental trends
High-end luxury brands, however, tend to favour brass as a base material, as it offers superior corrosion resistance; even if the surface plating wears away to expose the base metal, it will not rust, and it has a warm, substantial feel to the touch.
Die-casting: The Key to Shaping
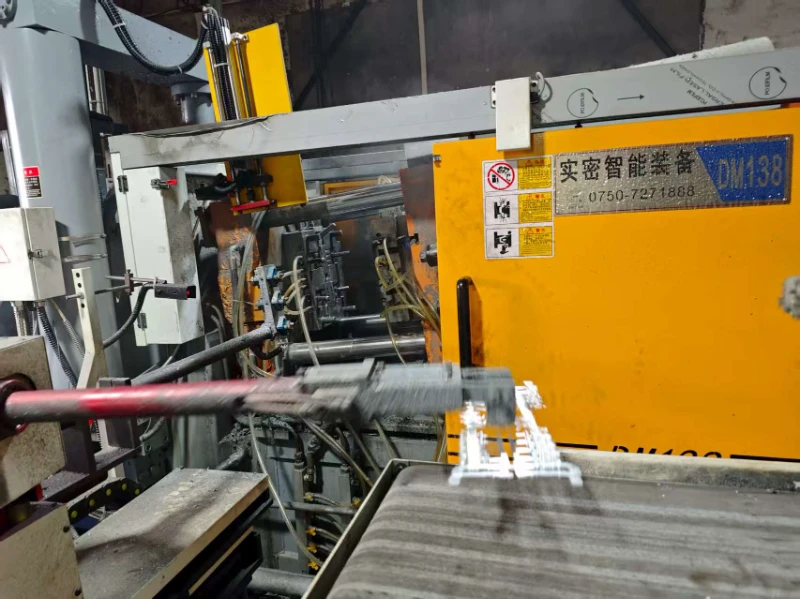
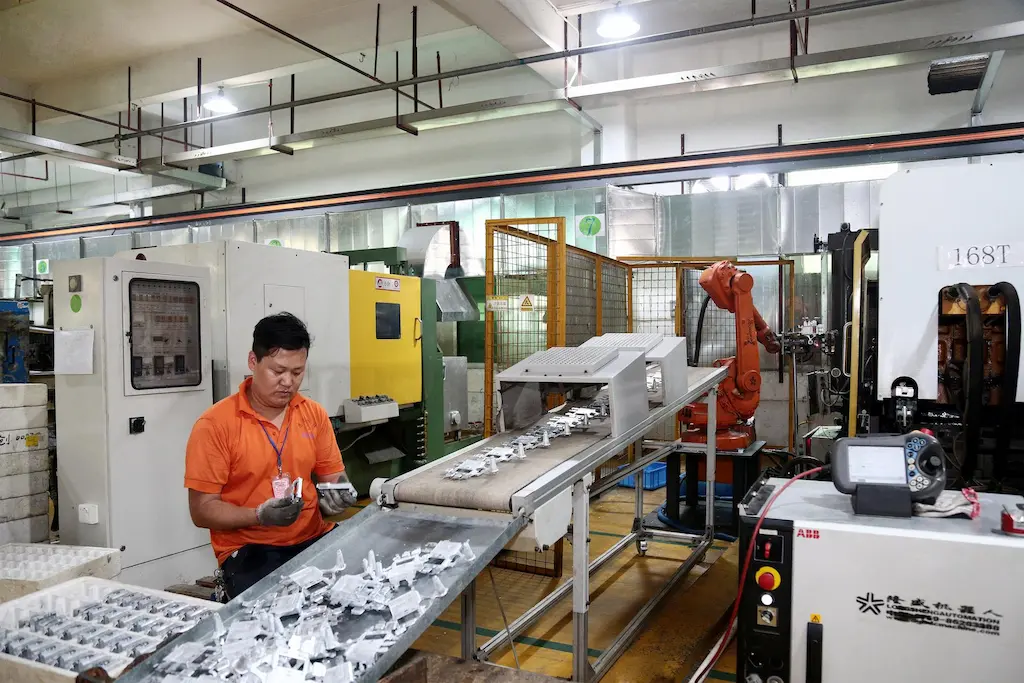
The die-casting process, as the core of casting production, injects molten metal into the mould cavity, allows it to cool, and culminates in the mould opening to remove the finished part.
Die-casting Process
Melting: Place zinc alloy ingots into a furnace and heat them to approximately 700°F (approximately 370°C) until melted
- Mould Clamping: Fit the mould onto the die-casting machine and lock it in place
- Injection: Inject the molten metal into the mould cavity under high pressure
- Cooling: Maintain pressure until the molten metal solidifies within the mould
- Mould Opening and Part Removal: Open the mould and remove the cast blank
Polishing: The Transformation from Rough to Mirror-like
The Necessity of Polishing
Freshly die-cast blanks have a rough surface, bearing parting line marks and burrs (commonly known as ‘flash’). The purpose of polishing is to eliminate these imperfections one by one, ensuring the surface of the metal components is smooth and fine.
The quality of the polishing directly determines the outcome of the electroplating process—if the polishing is inadequate, the electroplated layer cannot adhere evenly, and the final product will exhibit defects such as an orange-peel finish and pinholes. Consequently, the polishing process is also referred to as ‘the final line of defence before electroplating’.
Polishing Standards and Inspection
Once polishing is complete, the hardware components must meet the following standards:
- The surface must be free from any scratches visible to the naked eye
- The edges must be free from burrs
- The overall curves must transition smoothly
- The surface must have a mirror-like finish
Non-conforming items must be returned for re-polishing until the surface is ‘as bright as a mirror, with no visible marks whatsoever’
Electroplating: Bringing Hardware to Life
The Essence of Electroplating: It’s Not Just About Changing the Colour
Electroplating is the most critical and costliest stage in the production of metal fittings.
Electroplating utilises the principles of electrolysis to deposit a thin layer of metal onto the surface of metal fittings. This coating serves three main functions:
- Adding colour: gold, silver, gunmetal, rose gold, etc.
- Enhancing corrosion resistance: preventing oxidation and rust
- Improving wear resistance: extending service life
Pre-plating Preparation: Cleaning and Activation
Before metal parts are placed in the plating tank, they must undergo rigorous cleaning and activation processes:
- Chemical degreasing: Removal of surface grease
- Ultrasonic cleaning: Thorough cleaning of blind holes and crevices
- Electrolytic degreasing: Further degreasing using electrolysis
- Acid activation: Removal of the surface oxide layer to expose the fresh metal surface, ensuring the adhesion of the plating layer
Comparison of Electroplating Methods
| Electroplating methods | Principle | Coating quality | Suitable for |
| Barrel plating | The hardware components are tumbling in the drum whilst being electroplated | The surface is prone to minor scratches, and the coating is relatively thin | Mid- to low-end products |
| Electroplating | Each hardware component is electroplated on an individual hanger | Excellent mirror finish; the coating is uniform and thicker | Mid- to high-end handbags |
| PVD vacuum coating | Molecular-level bonding in a vacuum environment | It has extremely strong adhesion and is 10 times harder than electroplating. | Top-tier luxury goods |
Sealing: A Key Step in Extending Service Life
Once electroplating is complete, high-quality metal fittings undergo an additional sealing process—the application of a transparent protective coating to the surface of the plating.
The purpose of sealing is to:
- Enhance wear resistance
- Delay oxidation and discolouration
- Improve the smoothness of the finish
Hardware fittings that have not been oil-sealed are prone to oxidation and discolouration after a few months’ use. This is also an important technical distinction between mid-range and high-end hardware fittings.
Quality Inspection and Dispatch: The Final Check Before Delivery
End-to-End Quality Control
Quality control for handbag hardware is carried out throughout the entire production process, rather than solely at the final stage. Typical quality control checkpoints include:
| Node | Scope of Inspection |
| Receipt of raw materials into stock | Material Composition Testing |
| After die-casting | Dimensional and visual inspection |
| After drilling/tapping | Inspection of hole positions and thread accuracy |
| After polishing | Surface Finish Inspection |
| After electroplating | Inspection of coating appearance and thickness |
| After assembly | Fitting Inspection of Components |
| Before packaging | Final comprehensive inspection |
Engineers conduct salt spray testing as an essential reliability test following electroplating—they place the electroplated metal components in a salt spray chamber and typically require a corrosion resistance time of 48–72 hours (luxury-grade standards demand 90 hours or more).
Assembly and Packaging
Workers must assemble some hardware components—including springs, screws and other parts—before they can deliver them to the handbag factory for use
Prior to packaging, quality control staff place each hardware component individually on white paper for a visual inspection—the white background helps to identify minor colour variations, scratches or plating defects. Workers sort and package approved items according to specifications, label them with model numbers and batch information, and store them in the warehouse awaiting dispatch
Finally, it’s worth reiterating that OYC is a professional source manufacturer specializing in bag hardware. We export to multiple countries, offering affordable prices, short production cycles, and flexible customization and development capabilities.If you have any enquiries, please do not hesitate to contact us