Develop New Custom Handbag Hardware | Four OEM Development Workflows | OYC Hardware
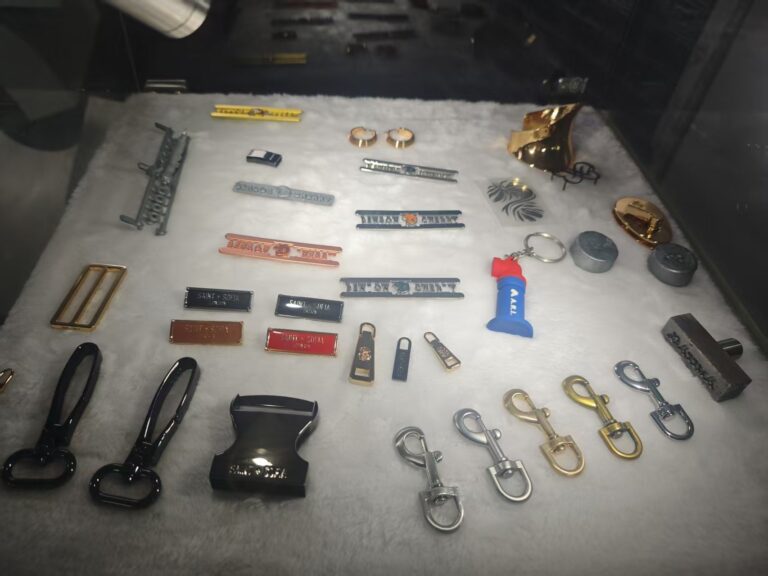
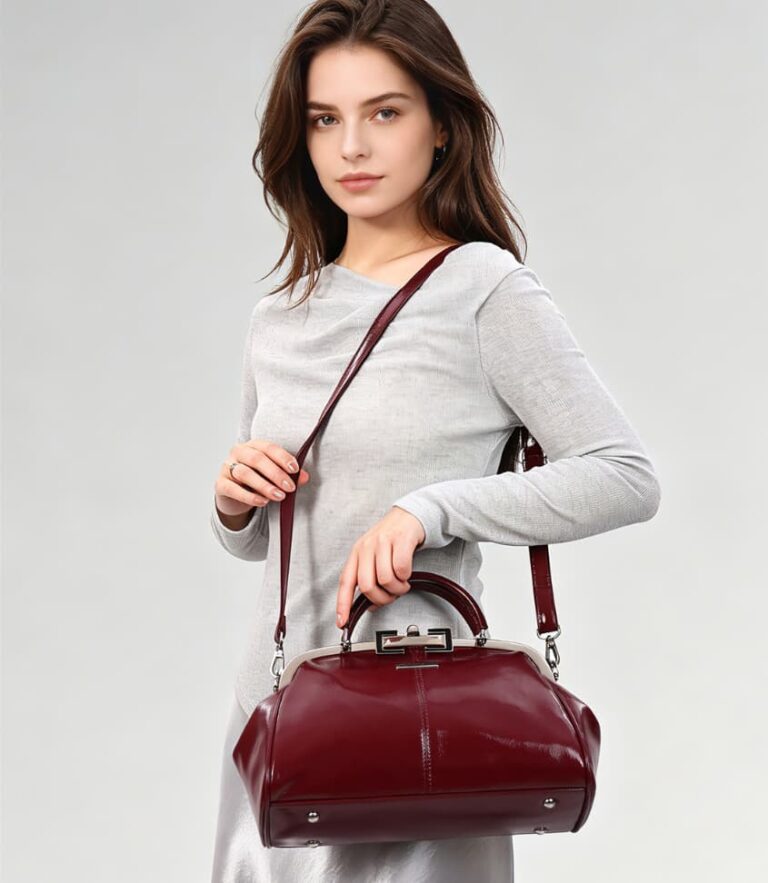
Handbag‑hardware components define both aesthetics and functionality for luggage and handbags. Upgrading clasps, hooks, rivets, zipper pulls and base fittings directly impacts a bag’s overall quality and market competitiveness. When developing custom new hardware, brands and bag manufacturers usually encounter four typical scenarios: development from physical samples, development based on images & specifications, resizing existing hardware, and adding custom logos to existing hardware. Each scenario has different development logic, prototyping workflows and critical considerations. Drawing on real‑world factory experience, this article breaks down these four mainstream workflows to help R&D teams complete custom hardware projects efficiently while guaranteeing dimensional accuracy and finished‑product quality.
New Handbag Hardware Product Development Based on a Complete Physical Sample
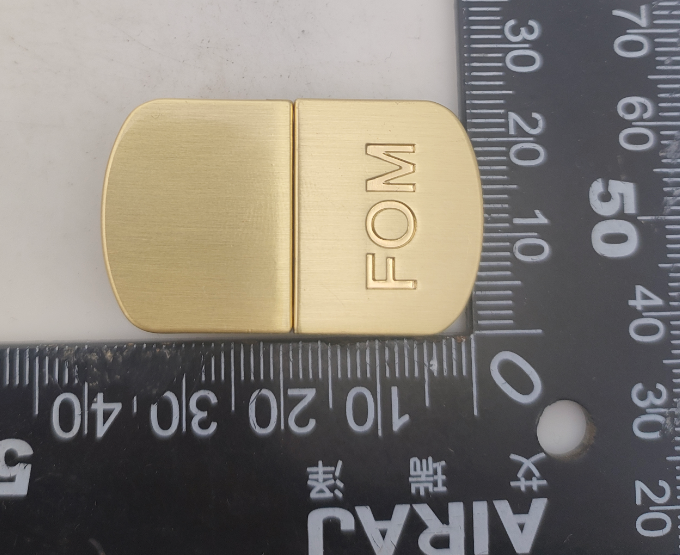
When the client provides a complete physical sample of the hardware components, it represents the most reliable and precise collaboration scenario for developing new handbag hardware products. The physical sample can serve as the primary reference for mold making, color matching, and process optimization, ensuring the product closely matches the client’s expectations and minimizing design deviations.
Precise Physical Surveying and Detailed Disassembly
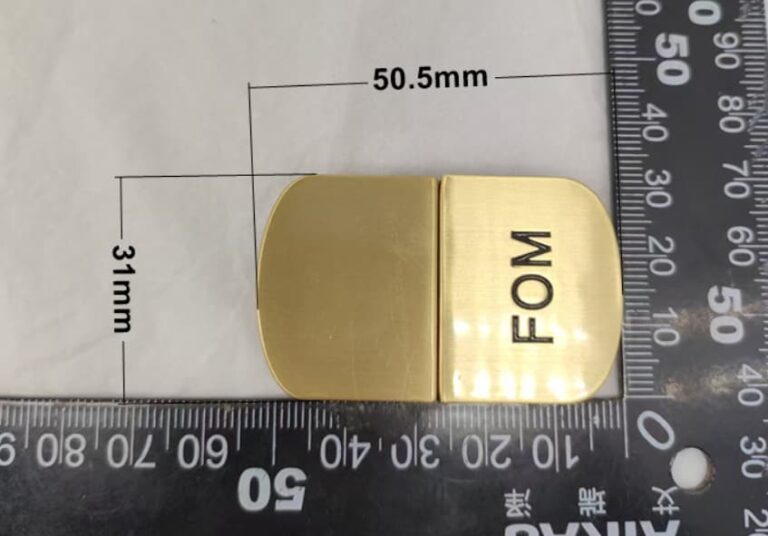
The development team first receives the actual hardware components provided by the client and conducts a comprehensive survey of their details. Staff use precision calipers, micrometers, protractors, and other equipment to measure key data such as the length, width, height, thickness, hole diameter, curvature, and engagement spacing of the hardware components. At the same time, they dissect the surface finishes to distinguish between different treatments—such as polishing, brushed finishes, electroplating, sandblasting, and resin coating—and record key parameters including metal composition ratios, weight, and the tightness of the opening and closing mechanisms.
The team simultaneously analyzes the structural logic of the physical product, confirming the latch mechanisms, assembly structures, load-bearing points, and mounting positions for the case, while fully documenting all original product data to provide precise reference for modeling and mold making.
After full measurement and dis‑assembly, we confirm project timeline with clients. For replica development based on physical samples, prototype turnaround normally takes 10‑15 days
Modeling, Mold Making, and Prototype Optimization and Upgrades
After completing the measurement and surveying process, engineers use the measured data to create 3D modeling drawings and coordinate with the client to verify the parameters. Once everything is confirmed, the mold development process begins. Unlike simply replicating an existing product, new product development involves optimizing details based on market demand—adjusting the smoothness of hardware components, load-bearing structures, and the feel of opening and closing mechanisms, as well as improving electroplating adhesion to enhance the product’s durability and aesthetic appeal.
Once we produce the first mold, staff compare it with the physical prototype to verify details, correct dimensional deviations and manufacturing defects, and fine-tune the structure to fit the new handbag’s design. This process ultimately finalizes the new product’s design and prepares it for mass production.
Get Your Sample‑Based Custom Project Started
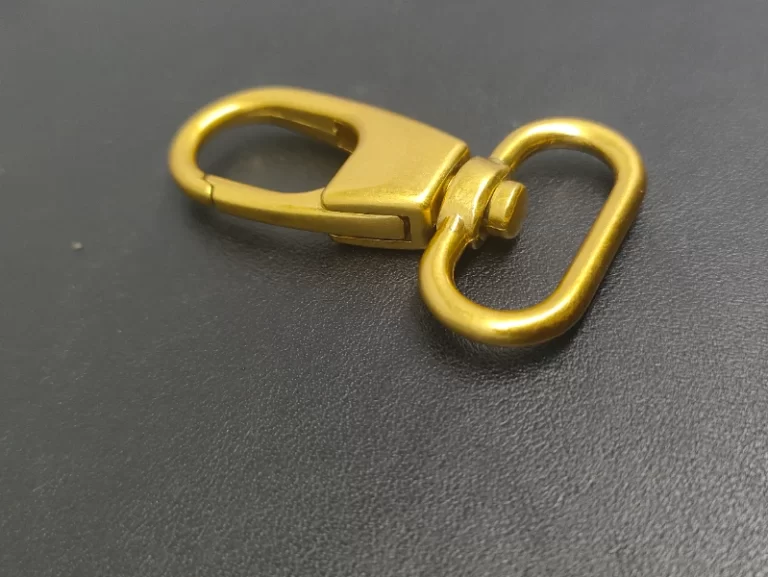
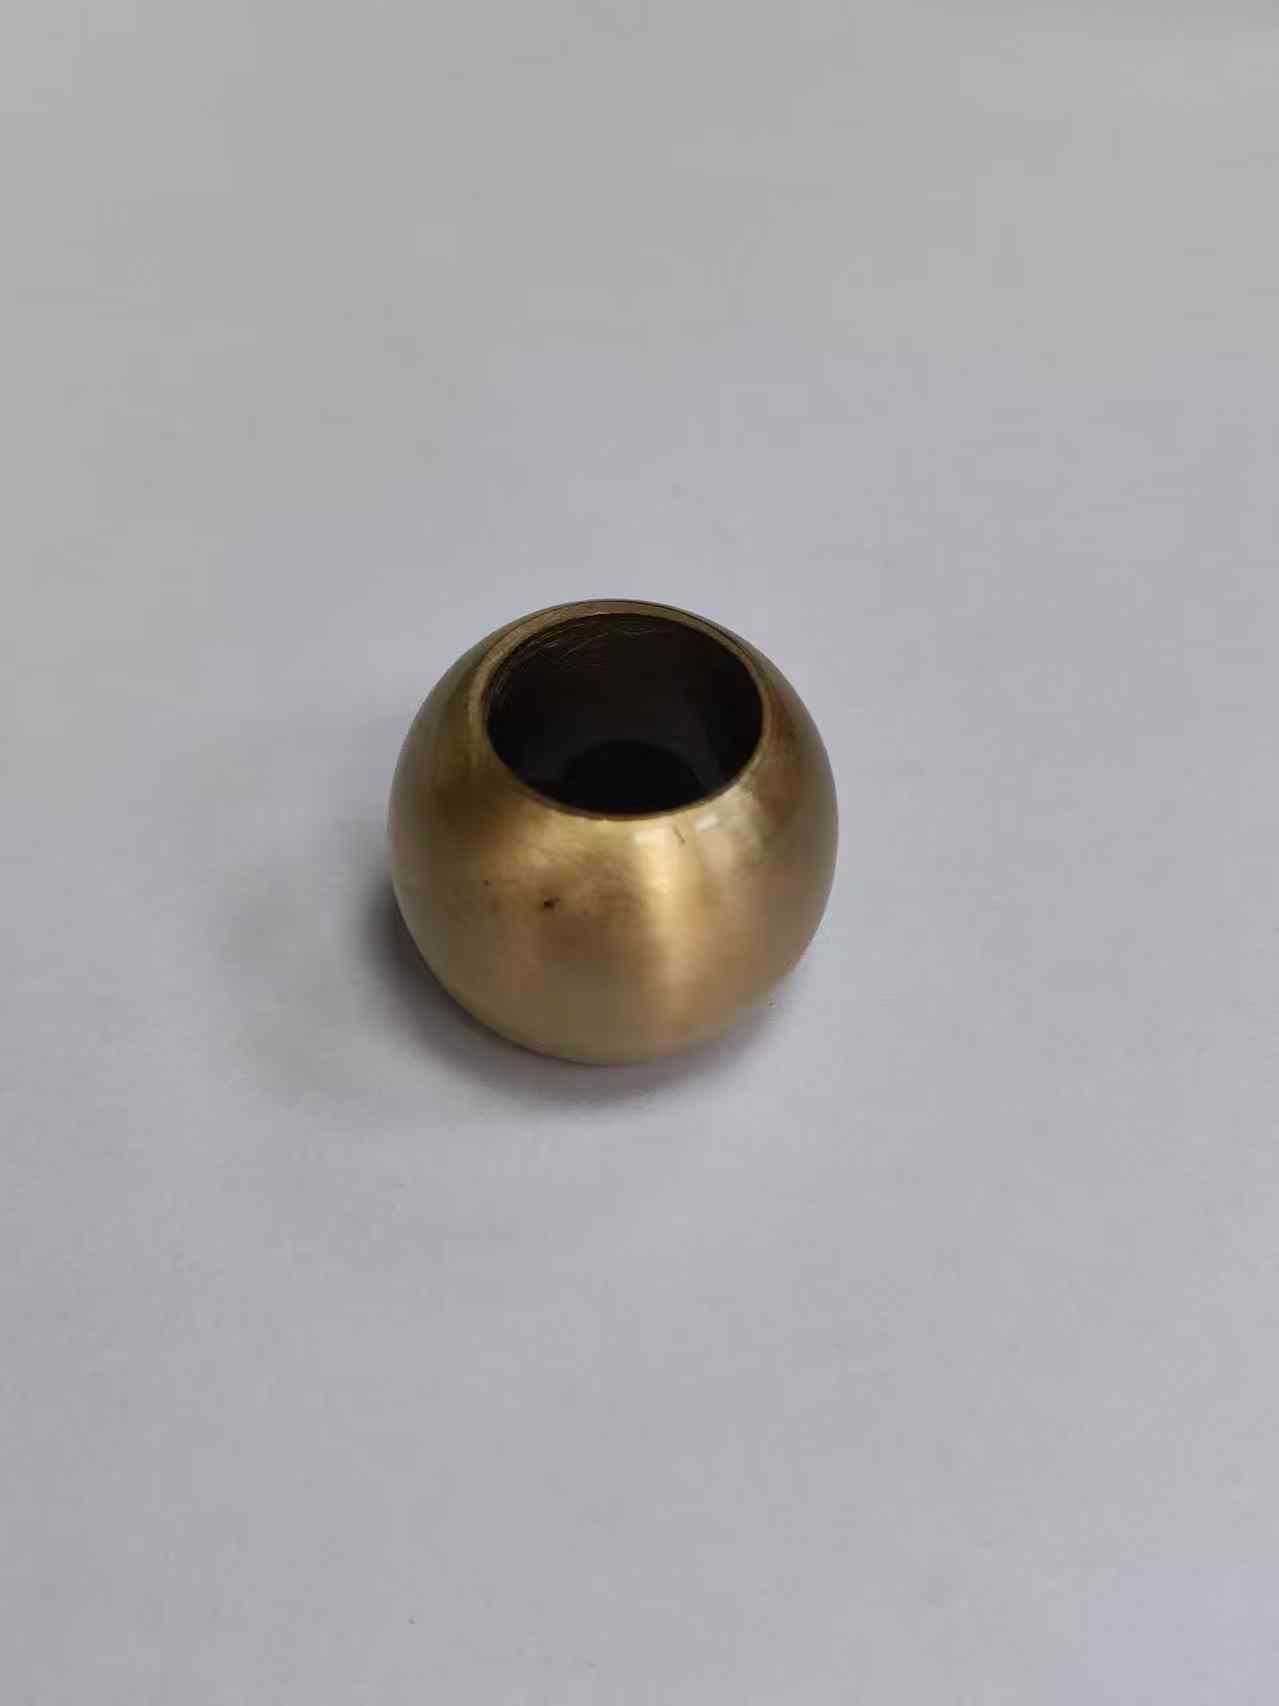 | 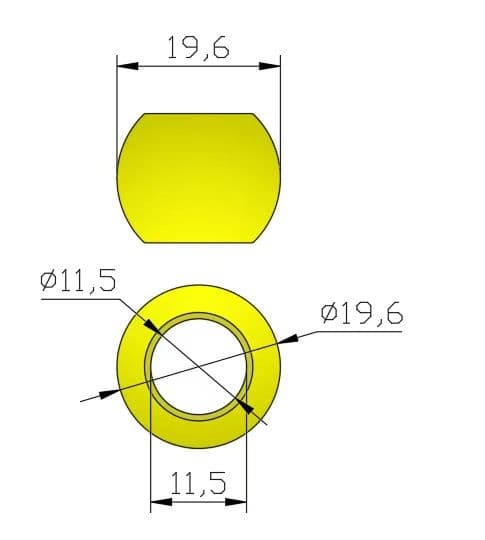 | 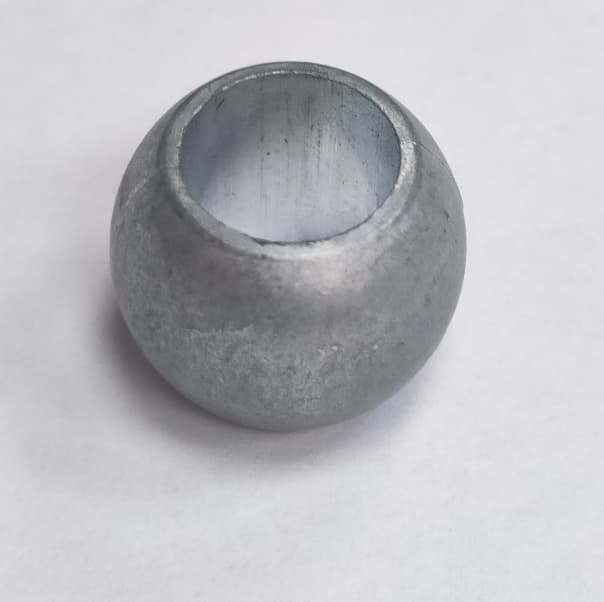 |
| Physical sample | artwork | sample finished |
Developing Brand-New Hardware Products Based Solely on Image Dimensions
Many brand clients provide only design images and dimension specifications for new hardware products, without any physical references—a scenario typical of purely original hardware product development. While this scenario offers a high degree of flexibility, it also carries a high risk of inaccuracies, requiring the development team to strengthen communication and ensure attention to detail to bridge the information gap caused by the absence of physical samples.
Information Verification and Design Refinement
Staff first verify the images and dimensional data provided by the client item by item, clarifying any ambiguous or missing information. To address limitations in the image perspectives, they proactively confirm the three-dimensional structure of the hardware, thickness ratios, opening and closing mechanisms, and installation methods. For missing parameters, they supplement and confirm core requirements such as materials, surface finishes, plating colors, weight-bearing standards, and compatible bag dimensions.
At the same time, by aligning with the handbag’s overall design style, we optimize the proportions and styling details of the hardware to avoid product distortion caused by visual errors in the images, thereby developing a comprehensive design solution.
We accept reference files including product photos, sketches, PDF, STEP and STP drawings. If you only provide render images without engineering dimensions, extra rounds of design confirmation will be required to avoid deviation.
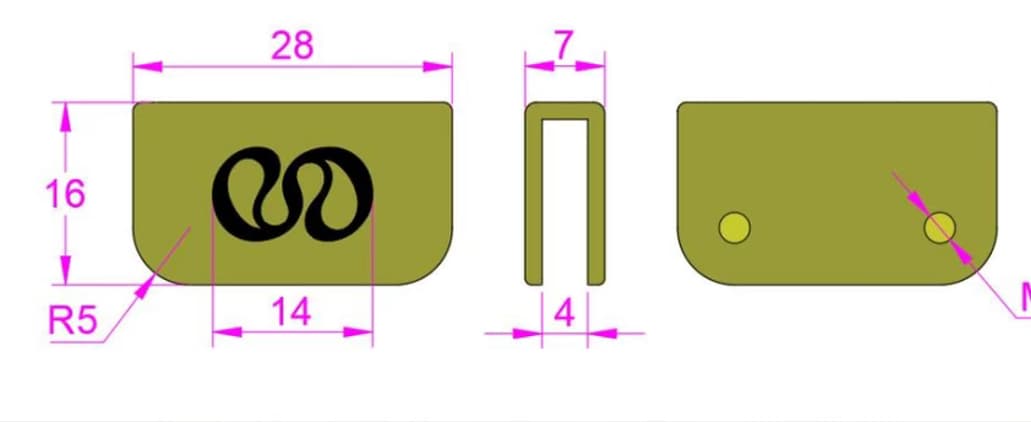 | 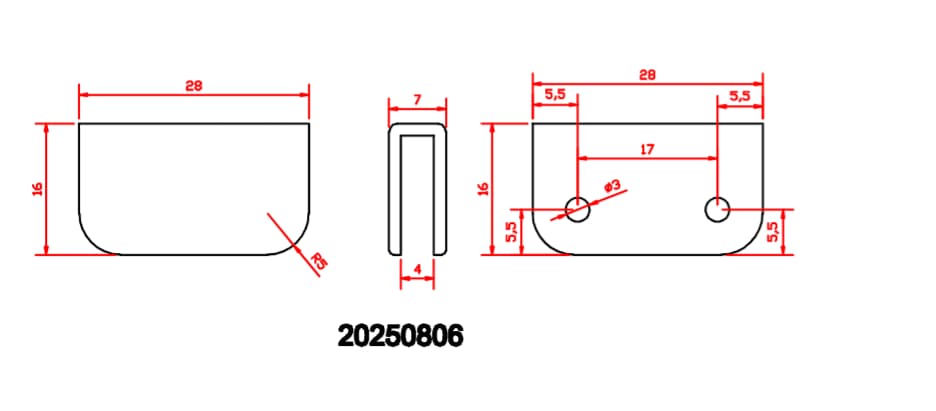 | 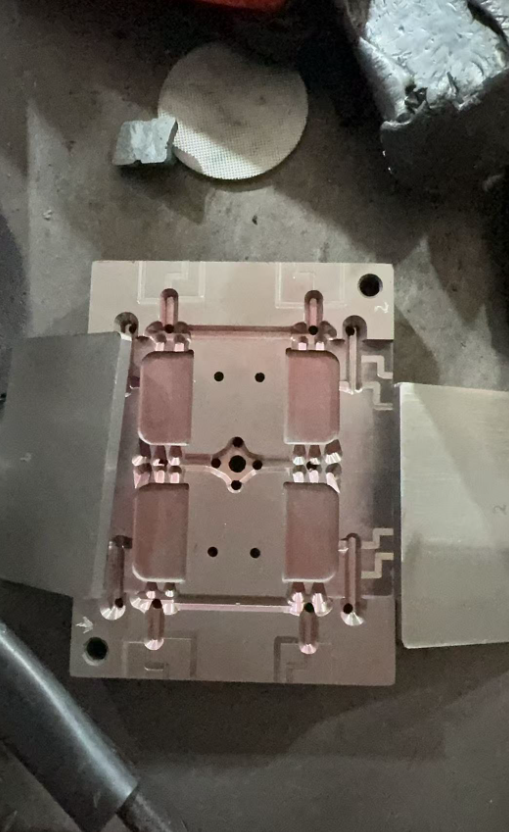 | 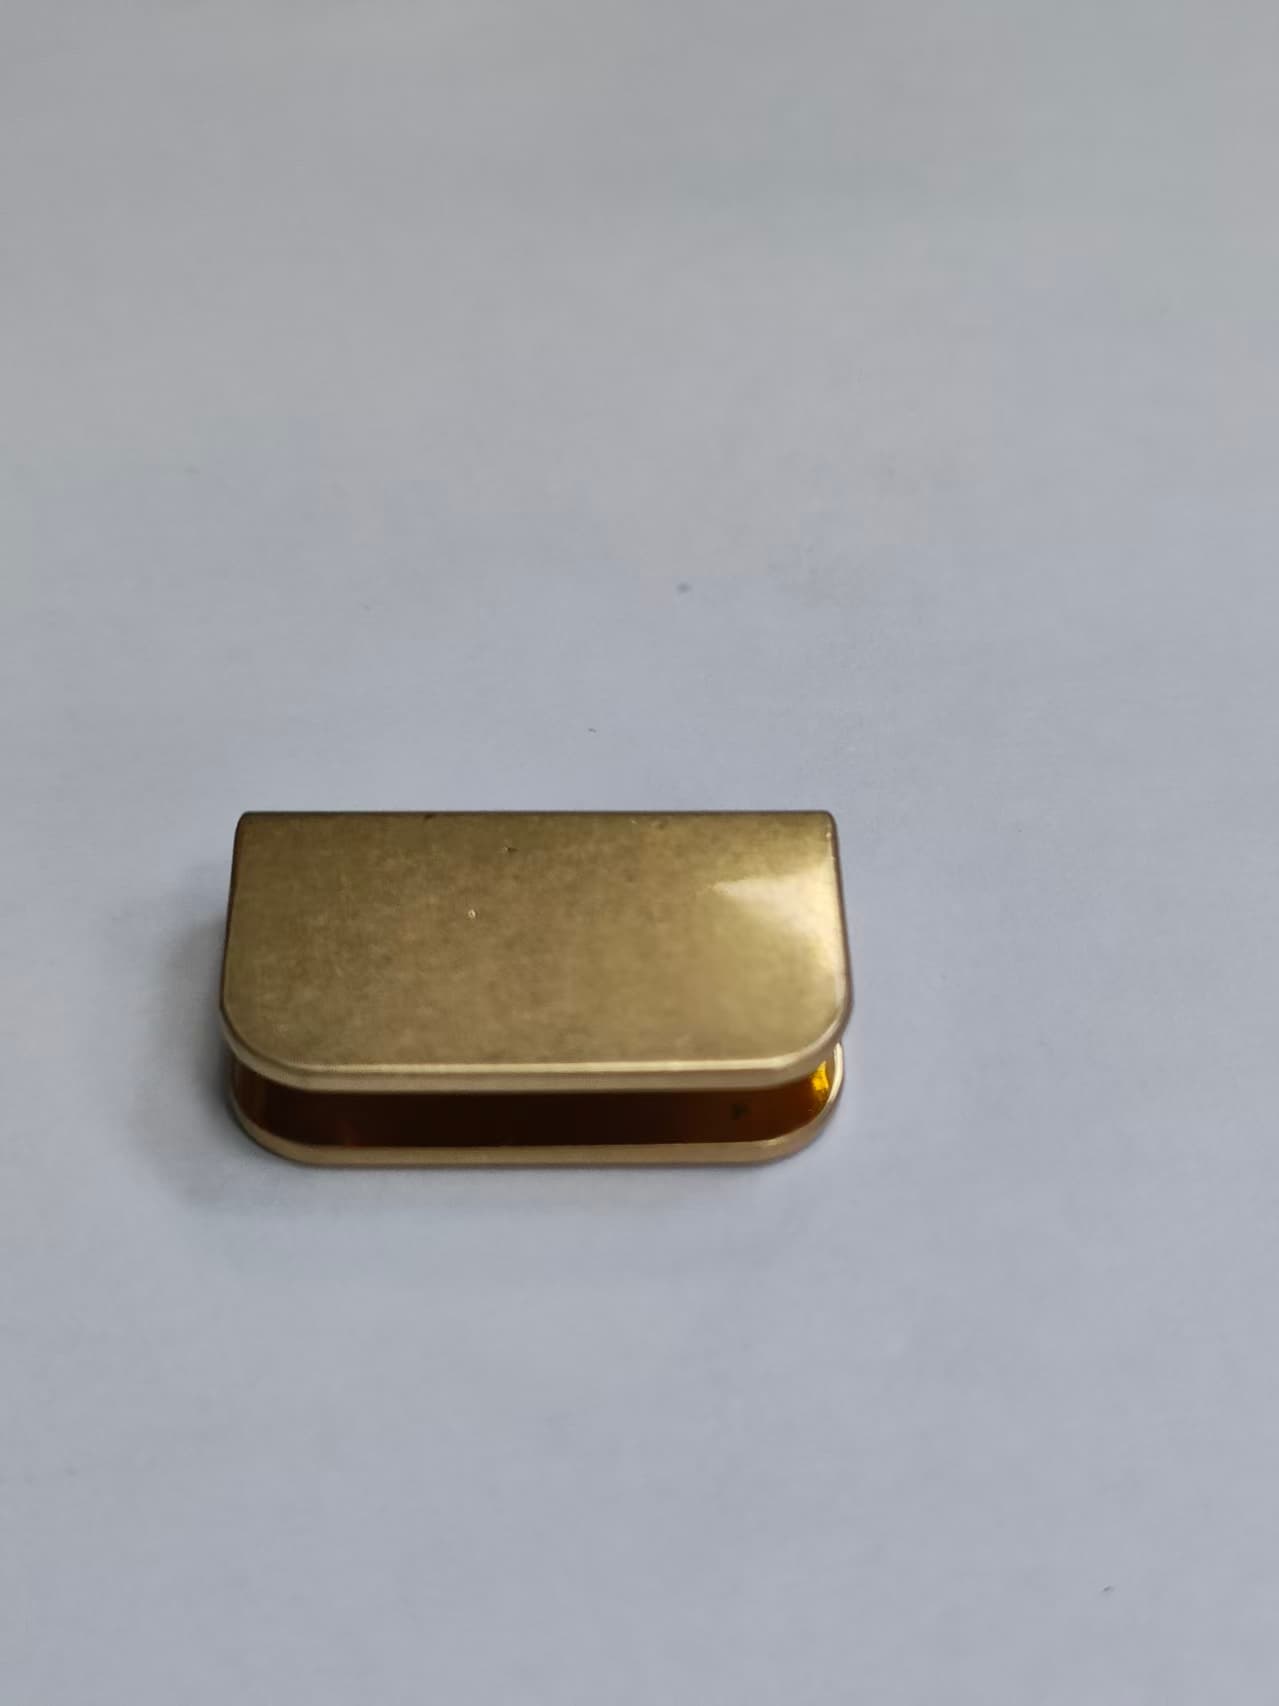 |
| client provide the artwork | we make artwork by ourself | open the mould | sample finished |
Integrating a Custom Logo into Design and Prototyping
The core requirement for this project was to develop a brand-new hardware product and incorporate the brand’s custom logo. Based on the vector logo file provided by the client, the design team adjusted the logo’s size, layout, and embossing depth in conjunction with the hardware’s form. Depending on the product’s positioning, the team selected various logo application techniques—such as laser engraving, die-cast embossing, and etching with color filling—to ensure the logo was clear, three-dimensional, and resistant to wear.
After completing the drawings and logo design, the team produced 3D renderings for client approval. Once the design was finalized, production of the first prototype began. Upon completion of the prototype, the team focused on verifying dimensional accuracy, design fidelity, and logo presentation. After fine-tuning the details, the design was finalized for mass production.
Development of New Hardware Products in Different Sizes Based on Existing Physical Samples
The client has mature physical hardware samples but needs to modify the overall or specific dimensions to match the pattern, capacity, and structural design of a new handbag model. This type of development falls under the category of redesign and upgrade, retaining the essence of the original design while making only dimensional adjustments. It features a short development cycle and low implementation difficulty.
Analysis of Dimensional Differences and Structural Adaptation
The development team first conducts on-site measurements of the client’s existing physical product to determine its full set of parameters. These are then compared with the client’s new dimensional requirements to identify the scope and specific points of dimensional changes. The team distinguishes between two approaches: overall proportional scaling and localized dimensional adjustments. We pay particular attention to core data such as hole diameters, latch spacing, and mounting point dimensions to ensure that dimensional changes do not compromise the hardware’s opening/closing functionality, installation, or load-bearing performance
Staff proactively identified potential structural issues arising from dimensional changes—such as the load-bearing limit after reducing hardware thickness or the stability of interlocking mechanisms following length adjustments—and optimized the structure in advance to prevent quality issues.
Important note: Simple proportional scaling cannot guarantee performance. Downsizing may reduce wall‑thickness and weaken load‑bearing capacity. Our engineers will adjust the structure proactively instead of only scaling drawings.
Redesign, Modeling, and Prototype Testing
Based on the original physical structure, engineers modify the 3D model according to the new dimensional parameters while retaining the established manufacturing processes and design aesthetics. Once the model is finalized, prototype samples are rapidly produced to verify the sample dimensions, opening and closing feel, and installation fit.
To address minor deviations caused by dimensional changes, we precisely fine-tune the mold parameters to ensure the new hardware fits the new bag body perfectly, while maintaining the texture and user experience of the original hardware, thereby rapidly completing the new product iteration.
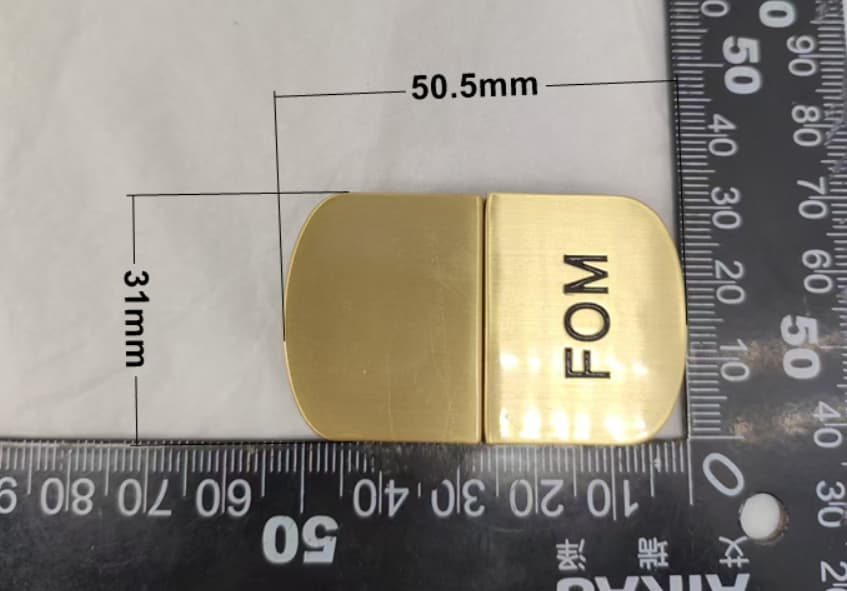 | 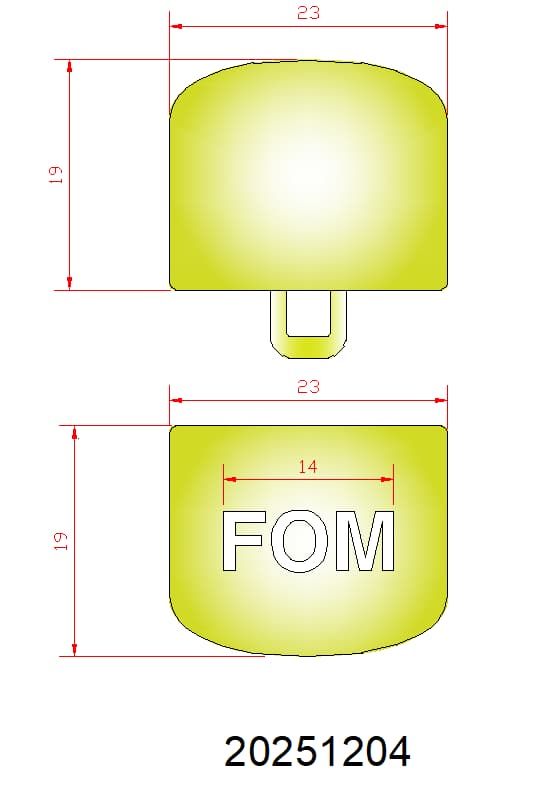 | 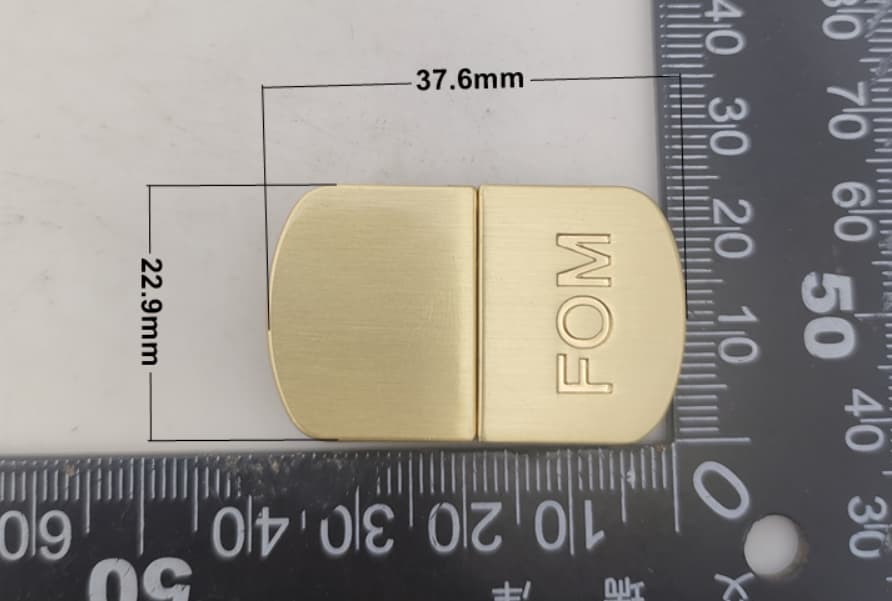 |
| physical sample | client required small size artwork | sample finished |
Custom Logo Development Based on Existing Hardware Components
The client approves the design, dimensions, and craftsmanship of the existing handbag hardware and simply needs to add their brand logo to the original product. This is the simplest and most common scenario for custom hardware development, emphasizing efficient implementation while maintaining the original quality.
Logo Process Selection and Placement Planning
After receiving physical samples and logo files from the client, the team first inspects the surface material and process characteristics of the hardware to determine the most suitable logo production process. For glossy-plated hardware, we prefer precision laser engraving; for matte or satin-finished hardware, we use die-cast embossed or debossed logos; and for hardware in its natural metal color, we may use an etching and color-filling process.
At the same time, we plan the logo placement in conjunction with the hardware’s design, selecting a position that is visually centered and does not interfere with opening, closing, or installation. We determine the size and depth of the logo to ensure the emblem looks elegant and sophisticated without compromising the overall texture of the hardware
For our in‑stock standard hardware, we can add embossed, debossed or laser‑engraved brand logos without opening new molds, which greatly shortens lead‑time.
Prototyping, Proofing, and Mass Production
After finalizing the process and design, the team first creates a custom logo sample to verify the logo’s clarity, positional accuracy, and fit, and to check whether the process damages the hardware’s original plating or structure. Once the sample meets the standards, the team establishes a standardized production process, unifying logo process parameters and manufacturing standards to ensure consistent results across the mass-produced products.
The entire development process requires no modifications to the hardware’s underlying structure; process upgrades alone achieve customization of new products, significantly shortening the development cycle and effectively controlling customization costs
Logo‑only prototyping usually takes 2‑5 days, without mold‑development work.
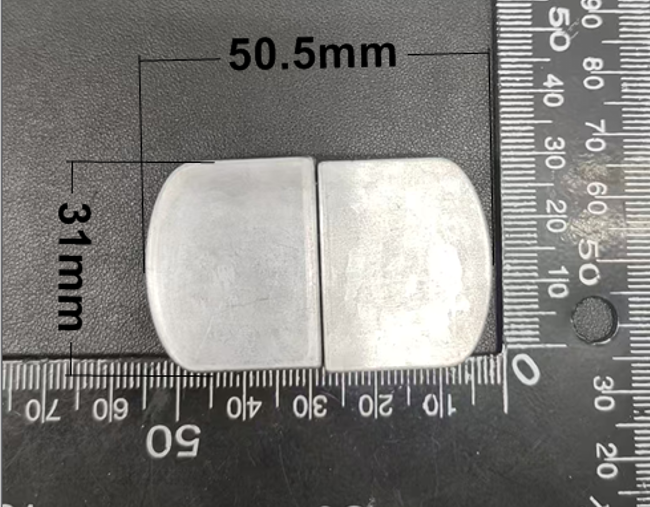 | 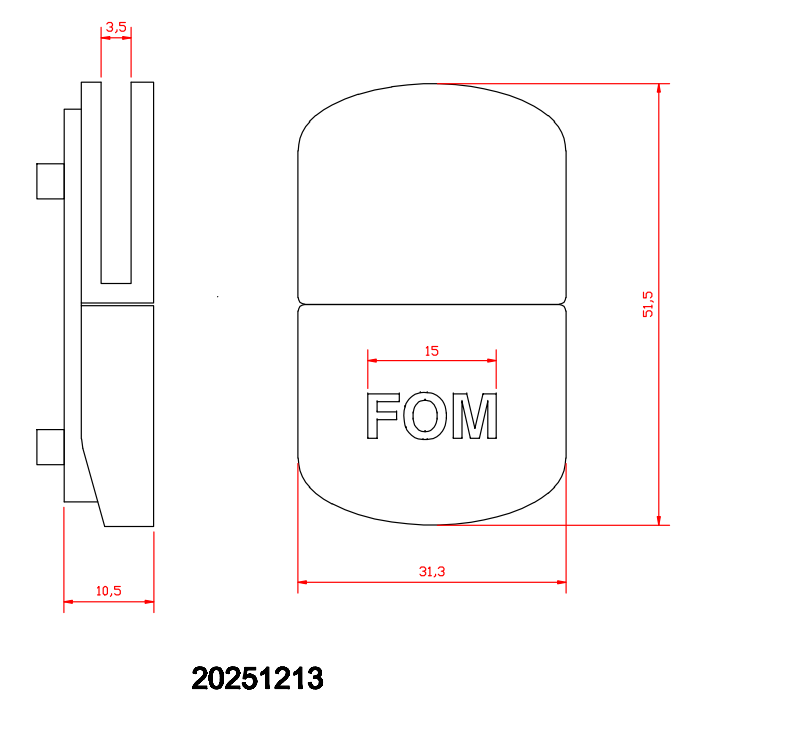 | |
| No brand lock | same design and size for brand lock | sample finished |
FAQ
Q1:What files should I prepare for new hardware development?
A: It depends on your scenario: physical samples, reference photos / render images, or engineering files such as PDF, STEP, STP. Vector logo files are required for brand‑logo engraving or embossing.
Q2: How long is the prototype sampling lead‑time for different development scenarios?
A: Replicate from physical sample:10-15 days; develop from images/artwork: 15-20 working days; resize existing hardware: 10-20 days; add logo on existing hardware: 2‑5 days.
Q3: What is MOQ for custom‑molded handbag hardware?
A: MOQ varies by product structure. Logo‑only custom on stock items supports lower MOQ; new mold development requires higher MOQ. Please contact sales for exact quotation.
Q4: Will you keep my custom mold? Who owns the custom‑development mold?
A: Molds can belong to clients after meeting order terms; we keep molds properly for repeat orders upon agreement. NDA confidentiality is available on request.
Key Takeaways for Four Custom‑Hardware Development Scenarios
The four scenarios for developing new handbag hardware products each have their own focus: physical replica development emphasizes detailed reproduction; development based on images and specifications focuses on design refinement and logo innovation; size-specific redesigns prioritize structural adaptation; and adding logos to physical products requires precise craftsmanship. The development team must precisely align with the core requirements of each scenario, ensuring accuracy in dimensions, craftsmanship and texture, and logo presentation—while balancing innovation with practicality. A standardized development process not only meets brands’ personalized customization needs but also ensures that hardware components align with the overall quality of the handbags, thereby enhancing the market competitiveness of luggage and handbag products.
Whether you provide physical samples, design drawings, reference images or just require logo modification, OYC Hardware supports your whole custom‑hardware workflow: drawing review, 3D modeling, prototyping, mold‑making and mass‑production. Our engineering team will point out potential structural risks early in the R&D phase to reduce revision cycles.
Start Your Custom Hardware Development Project
📧 [email protected] 📱 WhatsApp: +86-13924451472