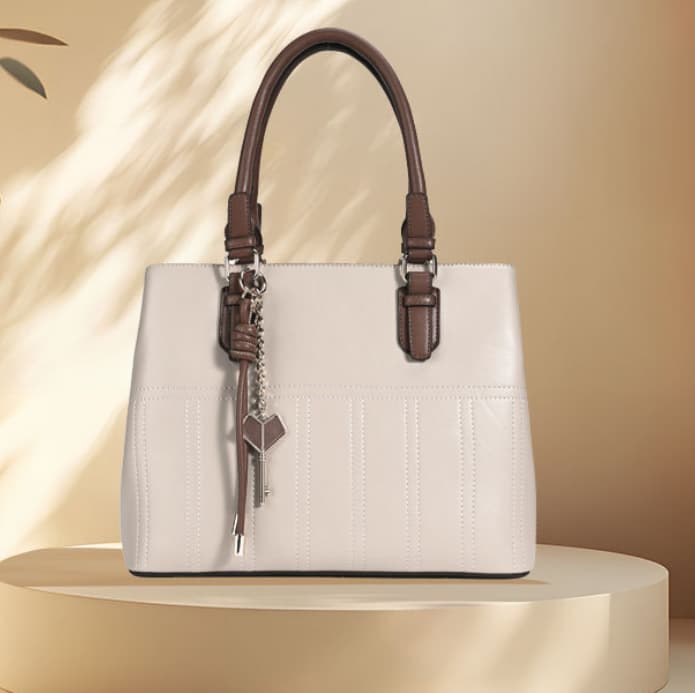
how to remove rust from bag hardware
Hardware is to a handbag what jewellery is to an evening gown—it may be small in quantity, but it is the most eye-catching feature. Those gleaming clasps, zip pulls, chains and logo tags: should even the slightest trace of rust appear, the entire handbag’s quality is instantly compromised. What makes it even trickier is that, unlike door and window hinges or taps, handbag hardware is far more delicate—with thin plating, intricate shapes and sitting right against expensive leather. One false move, and instead of removing the rust, you could end up damaging the leather, making it a case of more harm than good.
This article isn’t here to lecture you; let’s get straight down to business. Following the principle of ‘look before you leap, and proceed from gentle to vigorous’, I’ve broken down the rust-removal process into a few simple steps. Before you start, take two minutes to assess the condition of your hardware—it’s a million times more important than simply grabbing a toothbrush and scrubbing away at random.
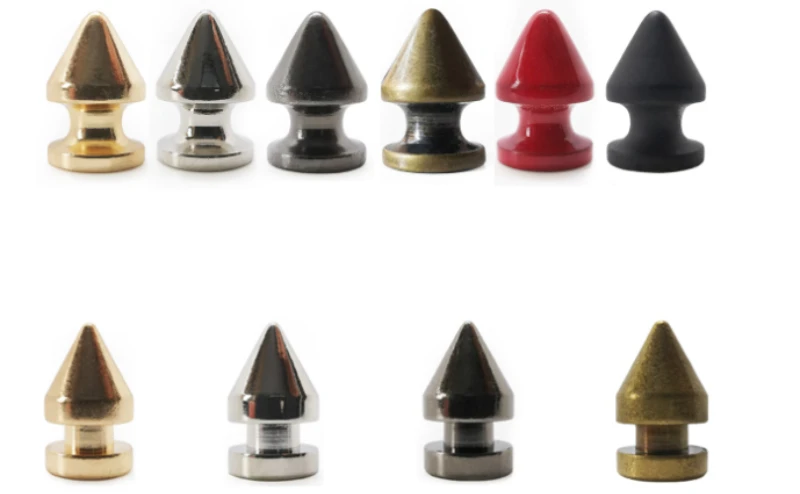
Step 1: Before you start, do three things
Firstly, check what material the hardware is made of.
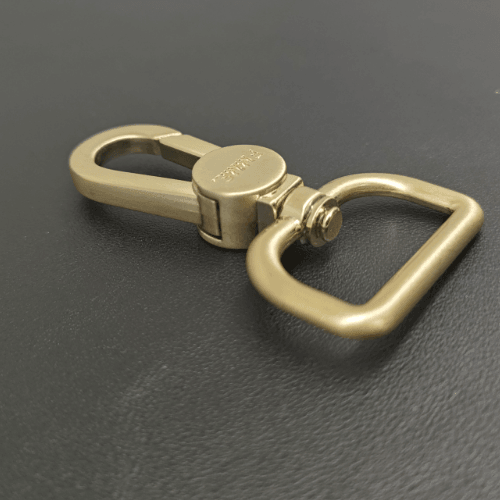
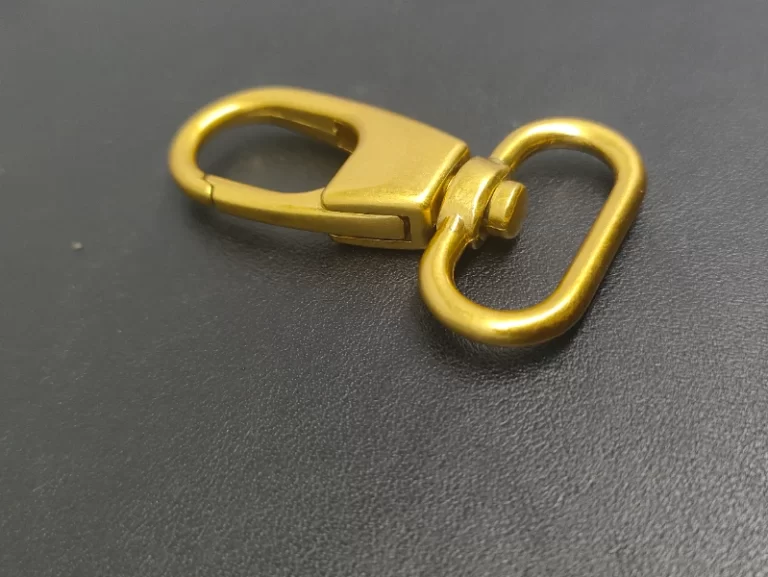
The most common type of hardware found on handbags is electroplated zinc alloy – clasps, logo tags and dog-clip fasteners mostly fall into this category. Zinc alloy itself is rust-resistant, but once the surface plating (gold, nickel or gunmetal black) wears away or flakes off, the underlying metal comes into contact with air and moisture, leading to spotty oxidation or corrosion. Another common type is iron or steel hardware, often found in chains and some older-style clasps. Once this type of material rusts, the rust appears as a reddish-brown powder and corrodes at a faster rate.
How can you tell the difference? Hold a magnet up to the hardware – if the magnet sticks, you most likely have iron or steel, which will rust quite aggressively; if it doesn’t stick, you usually have zinc alloy or copper, where damage to the plating causes the discolouration primarily.
Secondly, assess the extent of the rust.
I have categorised rust into three levels; see which one applies to you:
Mild oxidation: The metal surface appears dull and greyish, having lost its original lustre, but it still feels smooth to the touch, with no obvious raised areas or powdery residue. This ‘rust’ is not actually true rust, but rather an oxide film formed by the metal’s reaction with the air, or dirt adhering to the surface of a plating.
Moderate rust spots: Brown or black spots visible to the naked eye, with the surface feeling slightly rough or covered in powdery rust flakes; however, the rust has not yet spread to the edges of the hardware or the leather stitching.
Severe rust: Rust covers a large area; the surface of the hardware is flaking or peeling, and may even affect the fastening or clasping function. The rust has spread to the seam where the hardware meets the leather.
Thirdly, make sure you have the right tools to hand – don’t just make do with whatever you can find.
You’ll find most of what you need at home: a soft cloth or cotton cloth (don’t use a towel, as it’s likely to snag the surface), an old toothbrush (the softer the bristles, the better), cotton buds and a few toothpicks. As for cleaning products, white vinegar, spirit and toothpaste are your mainstays; if you have a silver polishing cloth or metal polish to hand, that’s a bonus. Put away the sandpaper and steel wool for now – unless you want to say goodbye to this bag.
Once you’ve finished preparing, choose the appropriate method based on the severity of the rust.
Step 2: Mild oxidation – something that can be sorted with a quick wipe
If your fittings are simply dull and lack lustre, but there are no obvious rust spots on the surface, you don’t actually need to carry out any ‘rust removal’ – a thorough clean will suffice.
Method 1: Toothpaste Scrubbing Method
Take an old soft-bristled toothbrush and squeeze onto it a pea-sized amount of toothpaste (ordinary white toothpaste will do; do not use gel-based or granulated varieties). Gently scrub the metal surface using small circular motions, applying no more pressure than you would when brushing your gums. The micro-abrasives in the toothpaste will remove the layer of oxidation and grime adhering to the surface of the plating, revealing the original shine beneath. After brushing for one minute, wipe clean with a damp cloth, then dry with a dry cloth.
This method is suitable for most electroplated metal fittings; it is gentle and safe. However, remember—you are brushing the metal, not the leather next to it, so try to avoid contact with the leather surfaces as much as possible.
Option 2: Silver polishing cloth or metal polish
If your fittings have a gold or light-coloured finish, a silver polishing cloth is an excellent choice. These cloths contain special polishing agents; simply wipe the surface of the fittings directly with the cloth. Do not wash the cloth with water, as this will remove the active ingredients and render it ineffective. For large areas of hardware, you can also use metal polish. Squeeze a pea-sized amount onto a soft cloth and rub the surface of the hardware in circular motions. If you see the cloth turning black, switch to a clean section and continue rubbing until you restore the shine. The author mentioned that she spent a full hour polishing the hardware on a single handbag, but she felt very pleased with the result – so you need patience
With the above treatment, mild oxidation can generally be restored to about 80–90 per cent of its original condition. If the problem persists after polishing, it indicates that the issue lies not on the surface but within the plating or the underlying metal; in that case, we move on to the next stage.
Step 3: Moderate rust stains — tackling them with acids and dissolution methods
When noticeable brown or black spots appear on the surface of metal fittings, or the surface even feels slightly rough to the touch, it is necessary to use acidic substances to ‘dissolve’ the rust.
Method 1: White vinegar or lemon juice application
Dip a cotton bud or small piece of cloth in white vinegar or fresh lemon juice and apply it directly to the rust stain, leaving it to sit for 10 to 15 minutes. The acid softens the rust (whose main component is iron(III) oxide), making it easier to wipe away. Once the time is up, gently wipe with a damp cloth; the rust stain will usually come away. Under no circumstances should you submerge the entire piece of hardware in vinegar – the acid will seep into the crevices at the back of the hardware, corroding areas you cannot see, and may even run down into the leather through the screw holes.
If the rust is particularly stubborn, mix white vinegar and bicarbonate of soda in a ratio of approximately 2:1 to form a paste, apply it to the rusted area, and wait ten minutes or so before scrubbing. The bicarbonate of soda increases the physical abrasion without scratching the plating.
Method 2: Alcohol Wipe Method
Medical-grade alcohol (75 per cent or higher) can dissolve certain types of rust. Dip a cotton bud in alcohol and wipe back and forth over the rusted area; the alcohol will remove some of the rust particles. The advantage of this method is that the alcohol evaporates quickly, leaving no moisture in the crevices of the metalwork, and is relatively safe for leather.
Option 3: Oxalic acid solution (use with caution)
For particularly stubborn layers of oxidation, you may try wiping the metal surface with a solution of oxalic acid at around 2 per cent strength. Once the oxidation has been removed, rinse with clean water and wipe dry. However, as oxalic acid is corrosive, you must work quickly, keep the application time to a minimum, and take extreme care to avoid contact with leather. If you are unsure, skip this option.
After you treat moderate rust stains, you may still see some ‘marks’ on the metal surface – do not expect you can restore it to its factory condition, but at least you will make the rust less noticeable and you won’t let it detract from the overall appearance
Step 4: Severe rust – some things are best left to the professionals
If you find that rust has covered large areas of the hardware’s surface, or that the hardware is flaking or peeling, or that the rust has spread to the seams between the hardware and the leather – I suggest you seriously consider ‘giving up on restoration’.
Severe rust means that the plating has been completely destroyed and the underlying metal is oxidising rapidly. Even if you go to great lengths to remove the surface rust, it will reappear before long—and it will rust even faster and more deeply. What’s more, severe rust is often accompanied by the hardware becoming brittle; clasps may fail to fasten, and chains may snap.
There are only two genuine solutions:
Firstly, take the bag to a specialist leather care shop and ask them to replace the metal fittings. You can replace the metal fittings on many branded bags—you can either use original manufacturer parts or salvaged parts—and a professional craftsman will remove the old ones and fit new ones, preserving the bag’s character whilst completely resolving the rust issue. This solution isn’t cheap, but it offers better value than buying a new bag.
Secondly, if the bag itself is not worth very much, or if the cost of replacing the hardware exceeds the bag’s value, then just accept it. Some vintage enthusiasts actually prefer this ‘distressed look’; as long as the rust does not affect its usability, let it serve as a mark of time.
Step 5: Prevention — a hundred times more important than rust removal
To be honest, despite all the rust removal methods described above, none of them are as effective as ‘preventing’ rust before it occurs.
Keep it dry—that’s the bottom line
Metal fittings are particularly vulnerable to damp conditions. If you’ve carried your bag home on a rainy day, the first thing you should do is wipe any moisture off the fittings with a dry cloth. For bags that you won’t use for a long time, wipe the fittings clean before you store them, then wrap the fittings in tissue paper or a soft cloth before you place the bags in a dust bag. This not only seals them off from the air but also prevents the fittings from rubbing against the bag and causing discolouration.
Wipe it down with a dry cloth from time to time
Whenever you’ve finished using the bag, take a moment to give the metal fittings a quick wipe with a dry cloth to remove fingerprints and sweat marks. Sweat and body oils are far more corrosive than you might think.
Do not allow metal fittings to come into contact with chemical cleaning agents
Strongly acidic or alkaline cleaning agents will directly corrode the electroplated coating, stripping away the fittings’ ‘protective layer’. For routine cleaning of metal fittings, use a neutral detergent diluted with water; wipe gently with a damp cloth, then dry immediately.
If the fittings show the first signs of slight oxidation, deal with it promptly
If you leave a small hole unrepaired, you will face a big problem later on – you can sort out minor oxidation in a matter of minutes using toothpaste or a silver polishing cloth, but if you leave it until rust spots appear, you will waste time and labour, and you may not even achieve a good result
Conclusion
When it comes to rust on handbag hardware, it’s neither a major nor a minor issue. In most cases, the few items you’ll find at home are more than enough—white vinegar, spirit, toothpaste and cotton buds, coupled with a little patience, will see you through most rust stains. But sometimes, you have to admit that the hardware on your bag has ‘had its day’, and then decisively hand it over to a professional to have the parts replaced, or simply accept the fact that it has ‘aged’.
At the end of the day, hardware belongs to the bag, and you carry a bag — you don’t put it on a pedestal. A few signs of wear simply show that it has accompanied you on your journey. As long as you don’t leave it neglected in a damp corner, but give it a regular wipe and keep it dry, most hardware will last you for many years.